Setup a Sequin sync
Before you can use Sequin with Forest Admin, you’ll need to create a sync. Sequin will guide you through authenticating, selecting the data you want to sync, and connecting to your database. Read our getting started guide for step-by-step instructions.Choosing a Postgres data source on Forest Admin
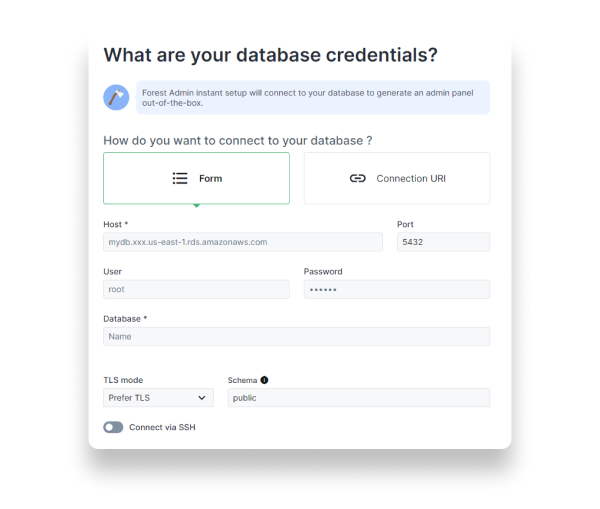
Sequin uses the Postgres Proxy to interface with your Sequin-synced tables. The Proxy lets Sequin capture inserts, updates, and deletes you make in your database and commit them to the API. To add Sequin’s Postgres Proxy as a database on Forest Admin, you can treat it as a regular Postgres database and enter the connection details in the configuration page. Step 1: Start by creating a new project on Forest Admin. Go to your dashboard and click on New Project. Give a name for the project and click on Create your project. Step 2: Choose Instant setup to spin up an admin panel connected to your data source. If you want more customization options and control over your data, choose the Advanced setup.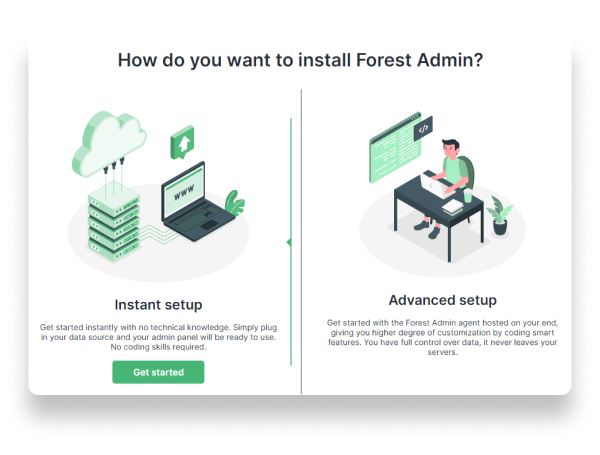
host, database name, database username, and database password from the Connection instructions tab of your Sequin dashboard:
Viewing the Postgres data on Forest Admin
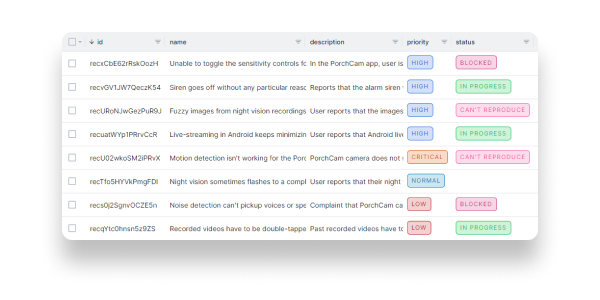
Now, Sequin is syncing your API data to Postgres. You’ve also connected Forest Admin to Postgres via Sequin’s Proxy. Start working with your data, starting with views: Step 1: Navigate to the Data tab from the left-hand menu. This displays all the synced tables from Sequin. Step 2: Click on Edit layout from the top-right. This changes the admin panel view to the edit mode. Step 3: Click on the eye icon next to the tables you don’t want in your admin panel. For instance, if you were syncing the Bug Tracker example from Airtable via Sequin, you’d want to view only the Bugs And Issues, Features, and Team Members tables. Step 4: You can also rearrange the data in the table to view the most necessary fields. Click on the rearrange icon at the top-left of the table and click and drag to rearrange the columns.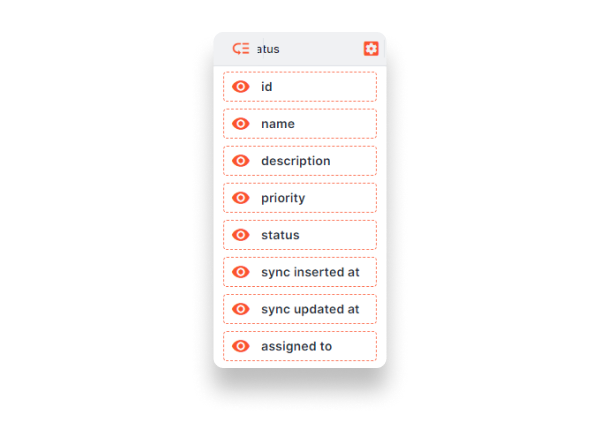
Writing back to the API
With Sequin, you can also mutate records via your database. Inserts, updates, and deletes you make to Sequin-synced tables are first applied to the API. If they pass validation, they’re committed to your database.Inserts
You can insert data into your table by clicking on the Add button from the top-right. This opens a new screen where you can enter data corresponding to different rows. After entering them, click Create to save the data to your upstream source via the Sequin Proxy. info Before you can add data to the table, you must set the id field to be read-only. In the edit mode, click on the gear icon next to the id field, enable the Read-only toggle, and click Save. Instead of the user entering these values, the Sequin Proxy will retrieve theseids for the record after completing the insert.
Updates
To edit table data, select a row. This opens a new page with a detailed view of that row. Select the Edit option from the top-right. Once you make the required changes, click Save.Deletes
To delete table data, select one or more rows, click on the Actions button from the top-right, and click Delete.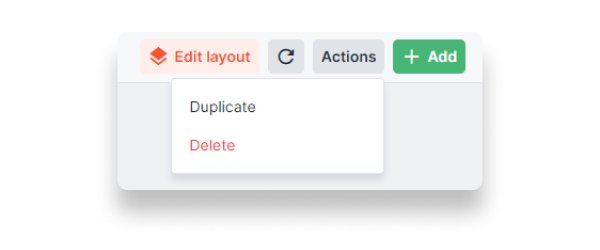
Errors
Your upstream source is the source of truth for your data. The Sequin Proxy validates all operations against the upstream source. When a validation fails, the Sequin Proxy returns an error and Forest Admin displays this as an error notification.