Setup a Sequin sync
Before you can use Sequin with DronaHQ, you’ll need to create a sync. Sequin will guide you through authenticating, selecting the data you want to sync, and connecting to your database. Read our getting started guide for step-by-step instructions.Create a DronaHQ Resource
A connector in DronaHQ is a connection to a resource like Postgres. Sequin uses a Postgres Proxy to interface with your Sequin-synced tables. The Proxy lets Sequin capture inserts, updates, and deletes you make in your database and commit them to the API. To add Sequin’s Postgres Proxy as a DronaHQ connector, you can treat it as a regular Postgres resource and enter the connection details in the connector configuration: Step 1: Go to your DronaHQ dashboard, click “Connectors” on the left rail, then click ”+ Add Connector.” Step 2: Select PostgreSQL from the list. Step 3: This opens up a new configuration page. Give it a name and paste in the connection string from the Connection instructions tab of your Sequin dashboard.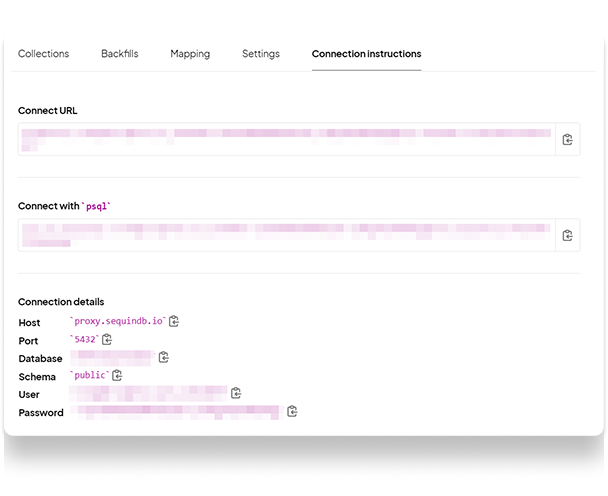
Using the Postgres connection in DronaHQ
Now, Sequin is syncing your API data to Postgres. You’ve also connected DronaHQ to Postgres via Sequin’s Proxy. To query this data in your DronaHQ app, go back to your DronaHQ dashboard and select your app: Step 1: From the DronaHQ dashboard, click “Apps” then open your app. Step 2: Click on “Data Queries” on the left rail (the database icon). Click ”+ New” then “Connector Query” in the bottom drawer. Step 3: Select the Sequin Postgres Proxy connection as the connector. Step 4: Compose your query. The schema for your Sequin-synced tables is available on the right rail. Step 5: Click “Test” in the top right to make sure your query runs as expected. Here’s an example Salesforce query that finds all the Salesforce Contacts belonging to a given account:Writing back to the API
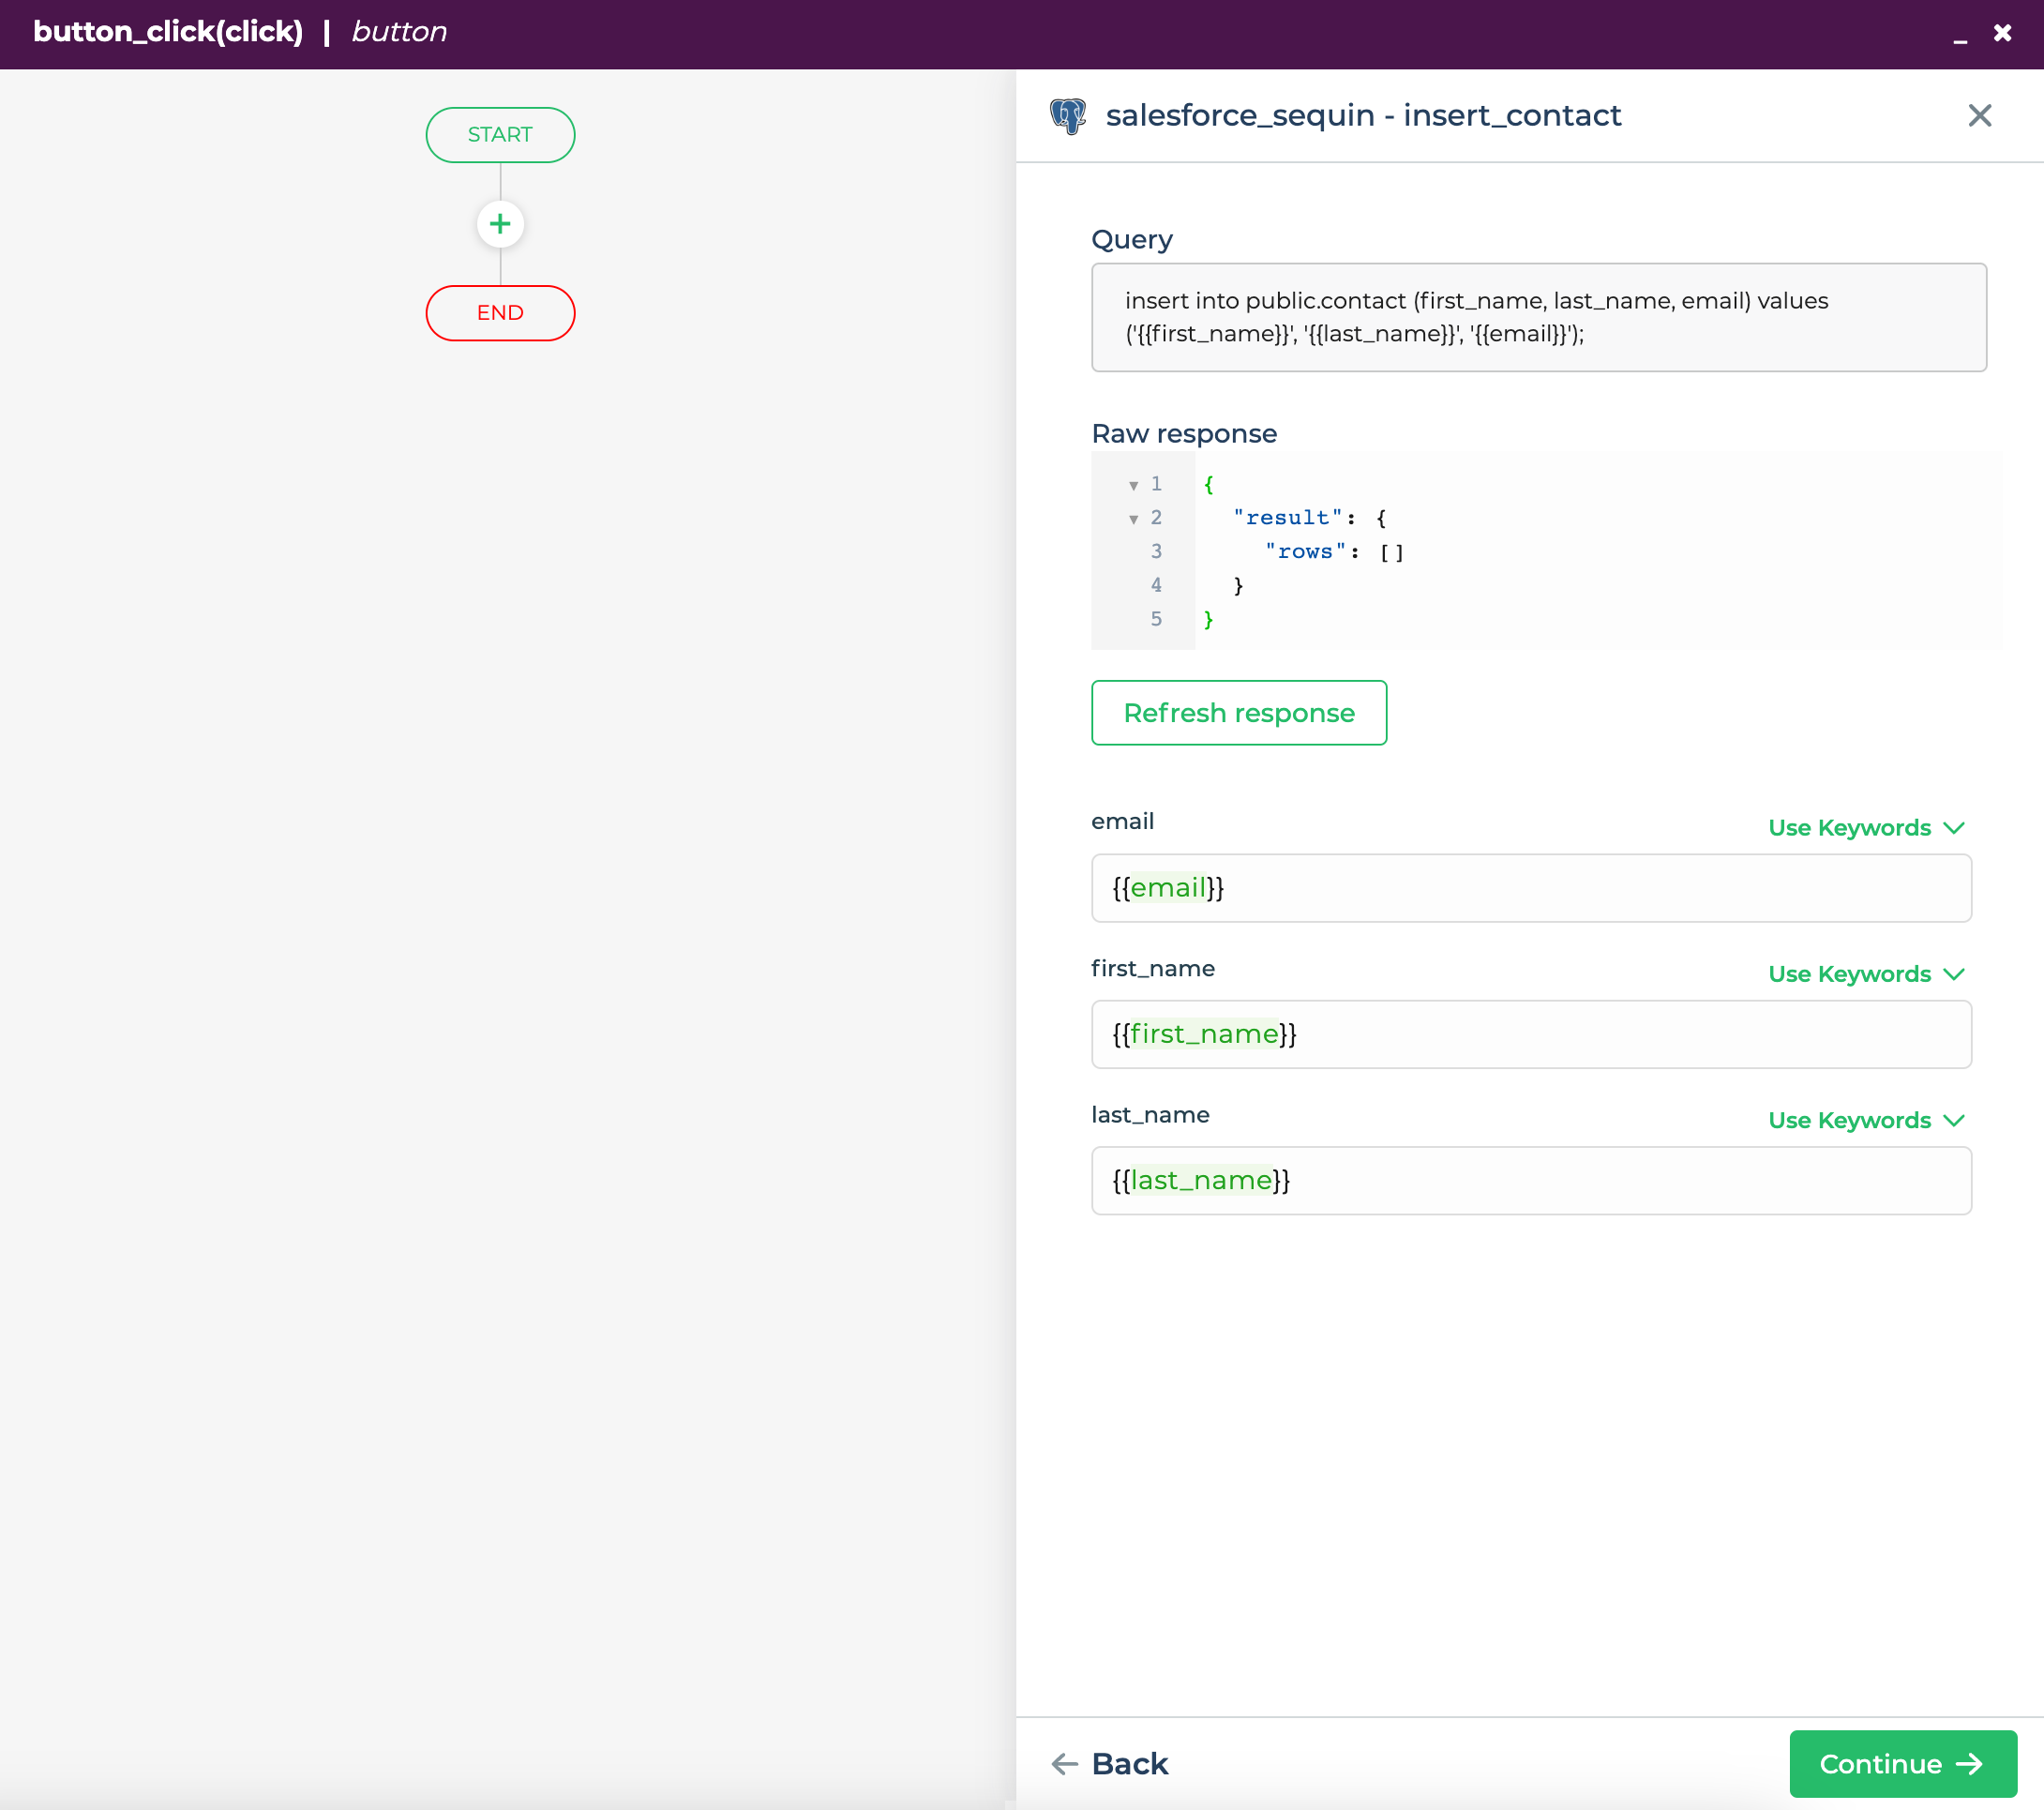
With Sequin, you can also make mutations via your database as well. Inserts, updates, and deletes you make to Sequin-synced tables are first applied to the API. If they pass validation, they’re committed to your database. In DronaHQ, you can use custom-built or auto-generated forms to insert or update data in your Sequin-synced tables. You can generate a form by finding “Controls” on the left rail, then selecting “SQL form.” Next, you’ll connect the “Submit” button of your form to a database mutation: Step 1: Select the “Submit” button and click “Actions” (the lightning bolt icon). Click on the eventbutton_click.
Step 2: Click the ”+” icon to add a new actin. Then click “Server-side actions” and select your Sequin Postgres Proxy connection.
Step 3: Click ”+ Add Query.”
You can compose an insert query by populating values with various input fields in your application. For example, if you have a form with inputs named first_name, last_name, and email, the corresponding insert query would look like this:
Errors
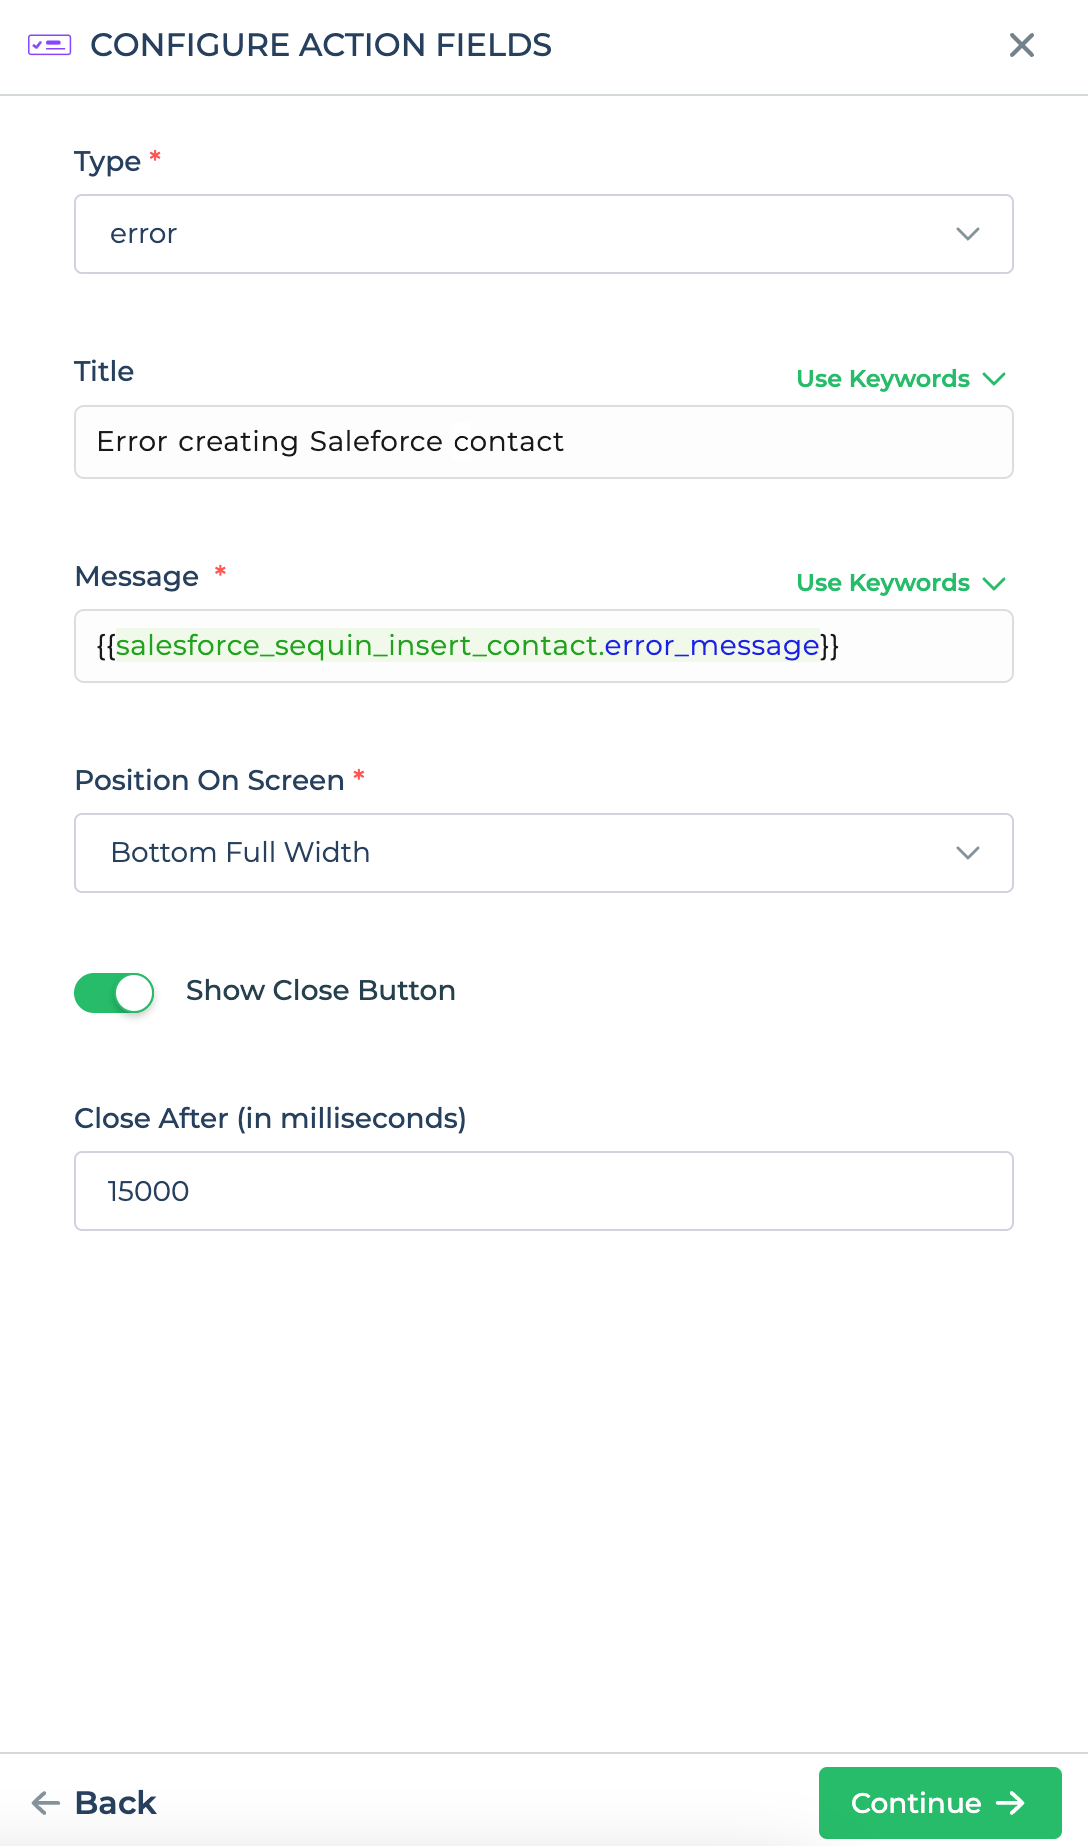
When Sequin’s Proxy encounters an error trying to apply your mutation in the upstream API, the Proxy returns a standard Postgres error. You can configure your app to display this as an alert notification. Step 1: Back in thebutton_click action workflow editor, click the ”+” icon underneath “Error.”
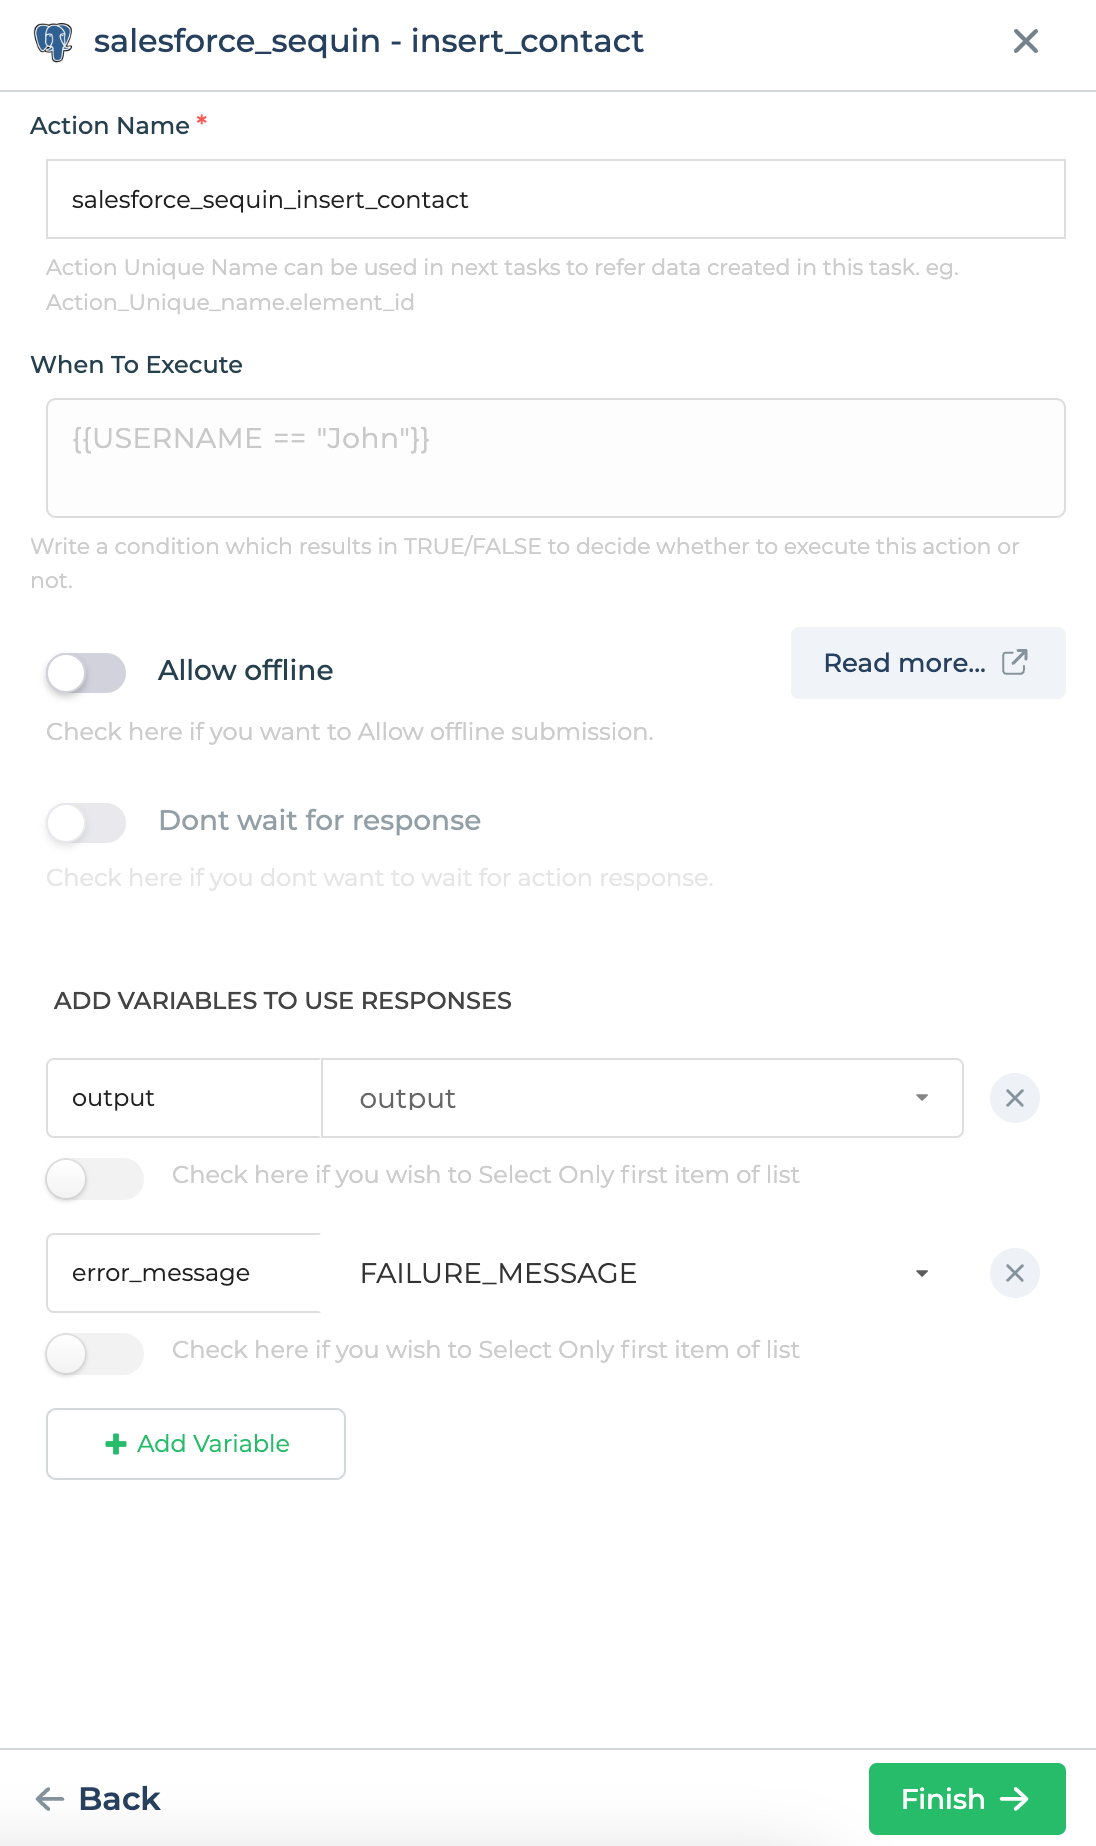
Step 2: Select an “On-Screen Action” such as “Toast,” which you can use to display an error message to the user. In the “Message” field, you can render the error result from the insert data query. (Be sure to bind insert errors to variables, as described in the previous section.)
Here’s an example of configuring a “Toast” to display an insert error: