Setup a Sequin sync
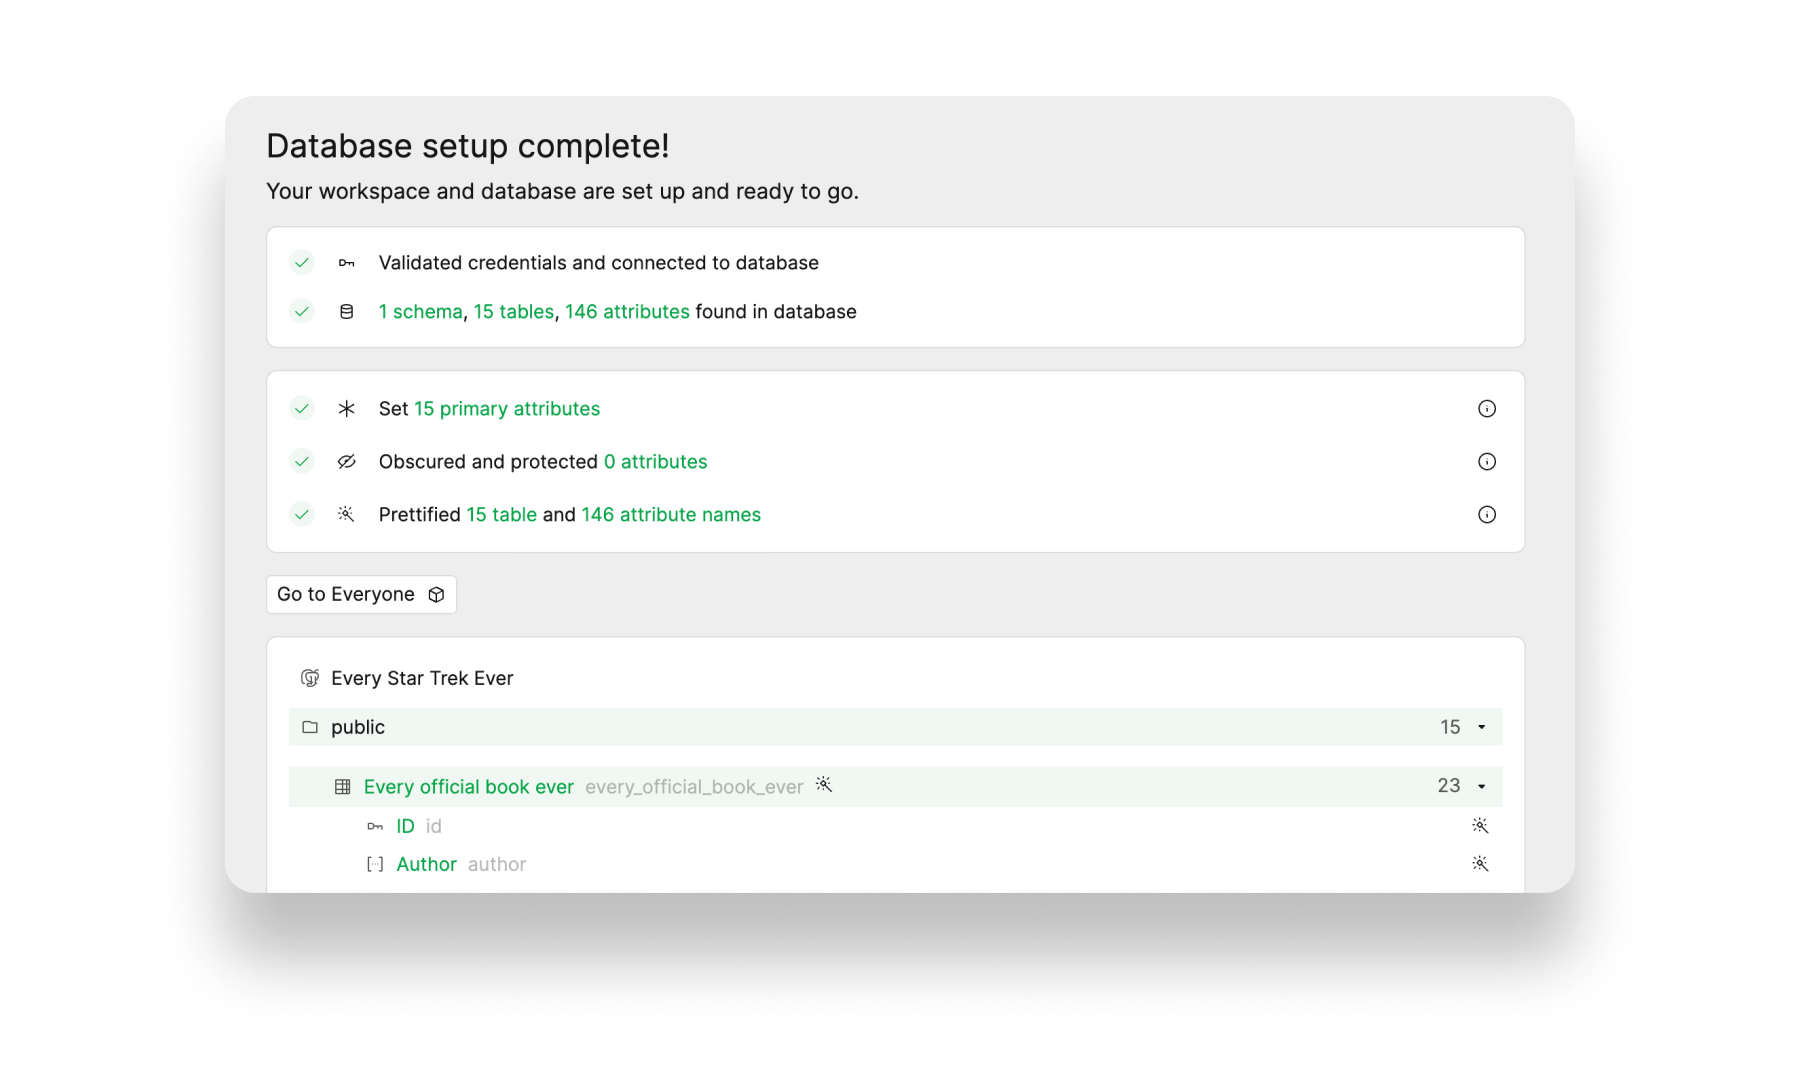
Before you can use Sequin with Basedash, you’ll need to create a sync. Sequin will guide you through authenticating, selecting the data you want to sync, and connecting to your database. Read our getting started guide for step-by-step instructions.Create a Basedash Connection
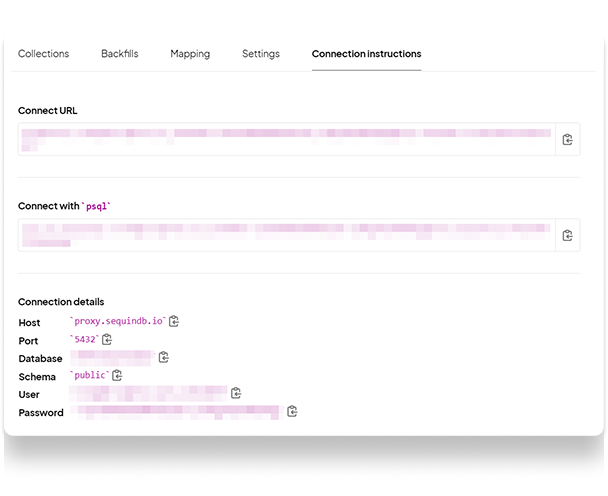
A connection in Basedash is a connection to a database or API that you can use to build apps and pages. Even if you previously created a Basedash connection for your Postgres database, you’ll want to setup a new Postgres connection for Sequin. That’s because you’ll use Sequin’s Postgres Proxy to interface with your Sequin-synced tables. The Proxy lets Sequin capture inserts, updates, and deletes you make in your database and commit them to the API. Step 1: Go to your Basedash workspace, and select the Connections tab in the left-hand menu. Click the New connection + button. Step 2: Select PostgreSQL from the list of connections and then click Other. Step 3: Enter a display name for your connection, such assalesforce_sequin. On the next step, paste in the connection string from the Connection instructions tab of your Sequin dashboard:


Create a Basedash view
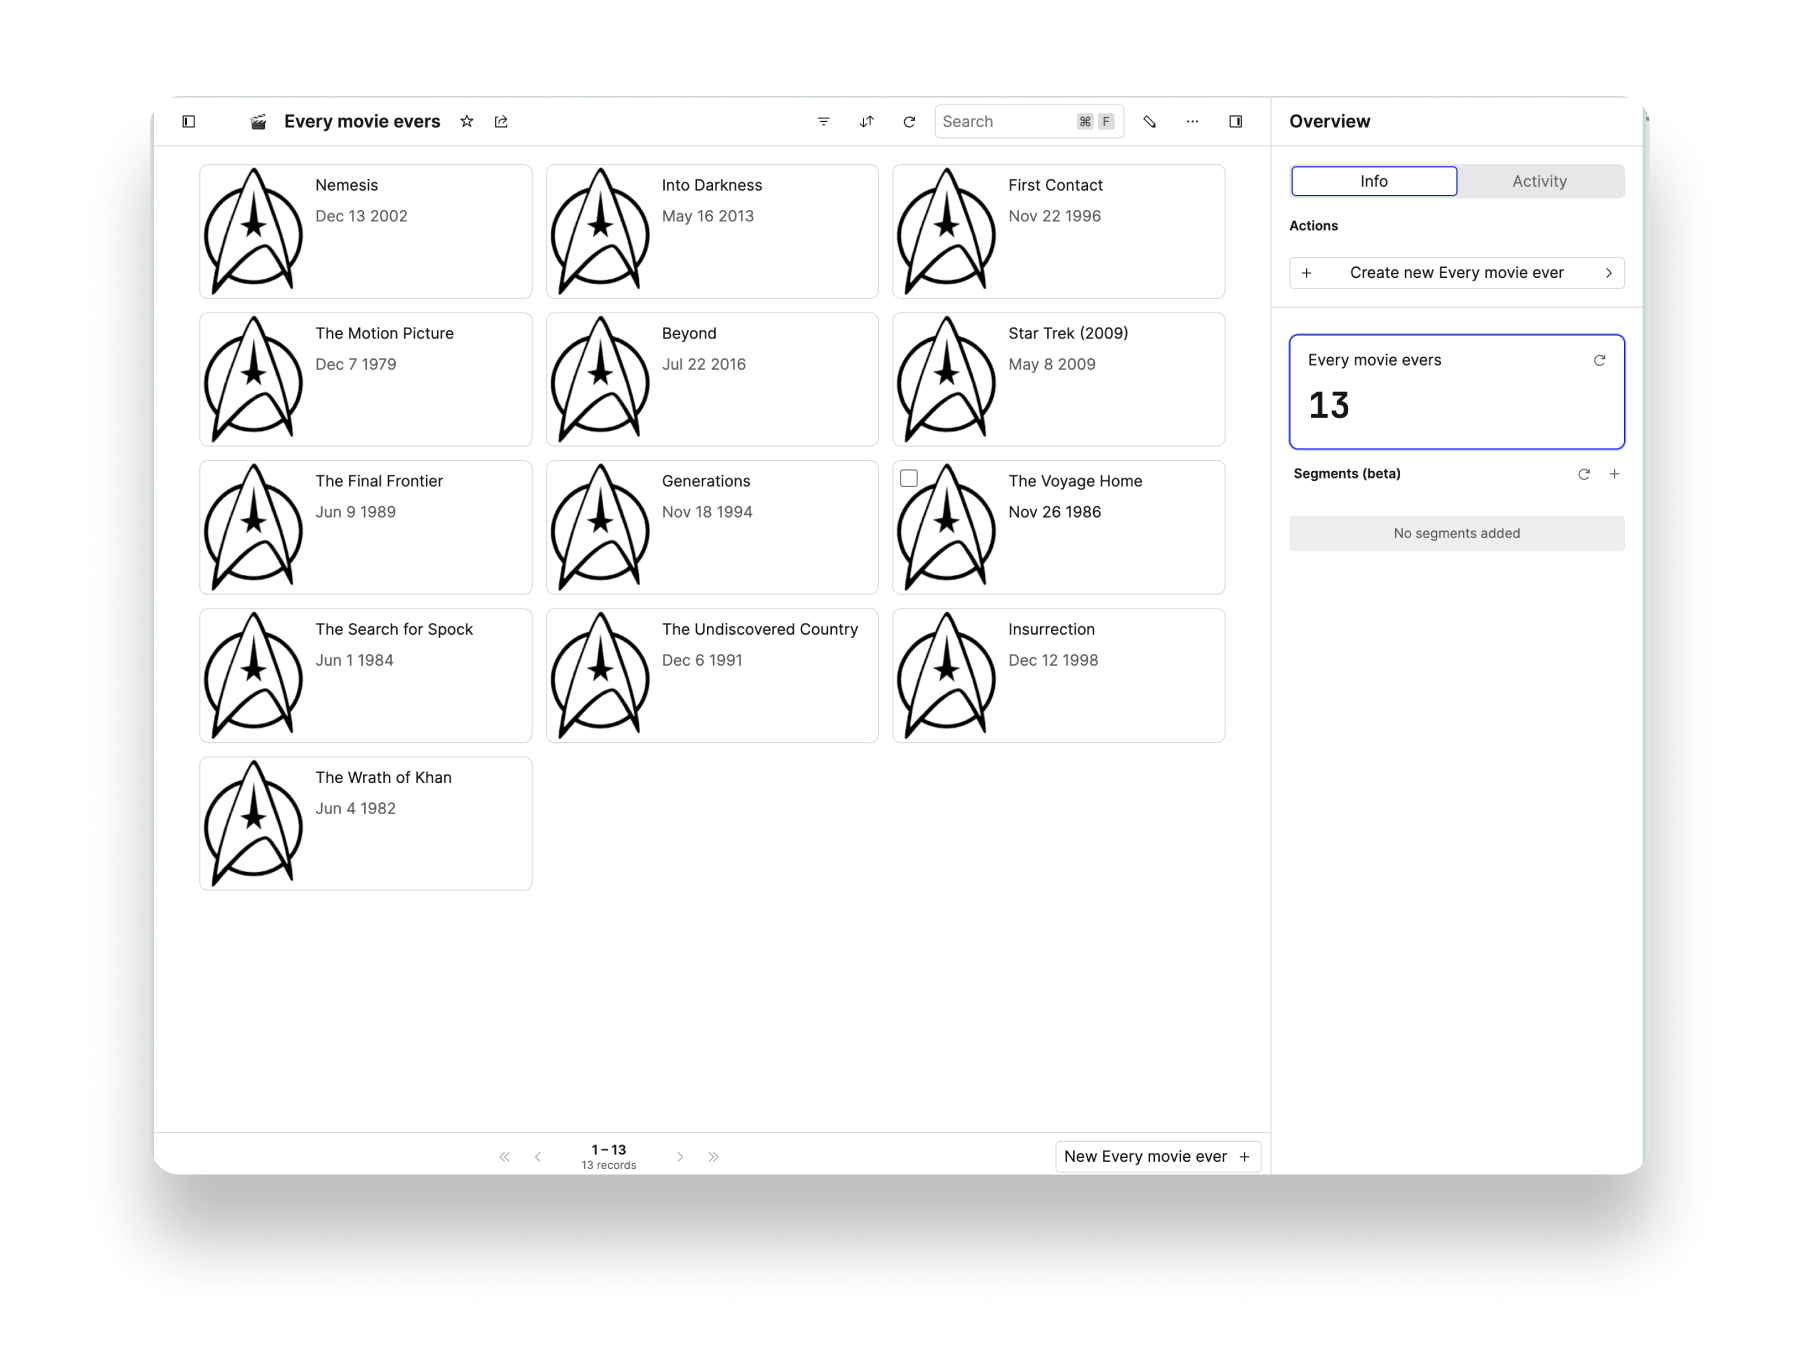
Now, Sequin is syncing your API data to Postgres. You’ve also connected Basedash to Postgres via Sequin’s Proxy. To start working with your data in Basedash, you’ll create views. A view helps you work with your data in a more structured way. Step 1: In your Basedash workspace, click the New + button and select View. Step 2: Select your Sequin connection from the list of connections. Basedash will show you a list of tables and views you have access to. Select the table you want to work with and then click Create view. Basedash will generate a view of your API data. Customize the view to visualize your data in a helpful way. You can add filters, sorts, charts, segments and more.
Create new records
- To create a new record, click the + Create new action on the right side bar.
- Enter a temporary
idfor your new record (Sequin will replace this with the realidfrom your source) and then enter the values for your new record. - Then click Create - a new record will be simultaneously created in your API source and your database.
Update records
- To update a record, select the record you need to update in your view.
- Depending on your view’s configuration, make the changes you need right in the table, form, or in editor on the right.
- Basedash will save the changes to Sequin - and your source will be updated immediately.
Delete records
- To delete a record, select the record you want to delete.
- Click the delete button and confirm your choice.
- Basedash will delete the record from Sequin - and your source will be updated immediately.
Errors
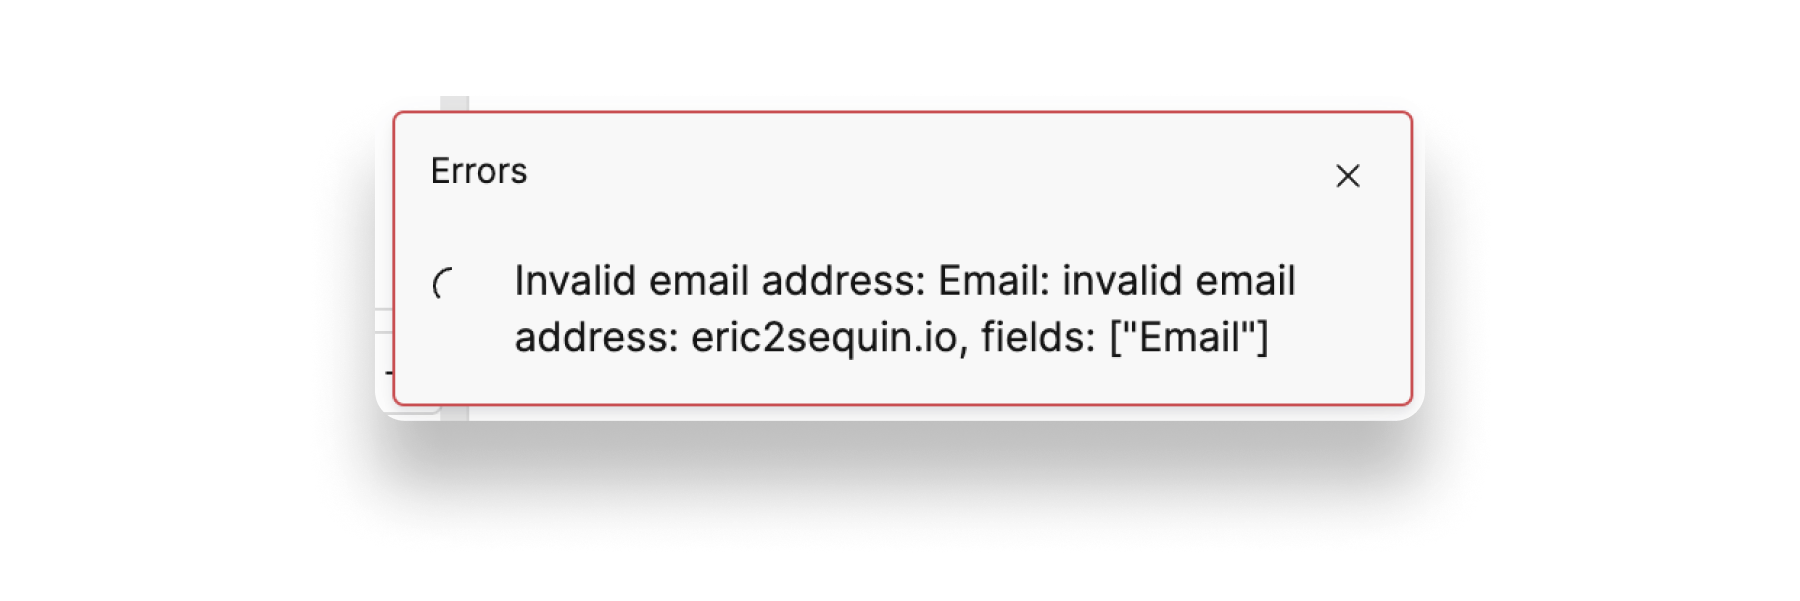
When you’re creating, updating, or deleting data in Basedash, you may attempt to make a change that causes an error in the API source. For instance, you may enter an invalid email address, miss a required field, or attempt to duplicate a record. When this happens, you’ll see an error message in Basedash. The record will not be created, updated, or deleted in your database or in the API until you fix the error.
After you’ve created your first view, you’ll see a page in your workspace. You can customize this page to show summary information about your data using segments and graphs.

