- Sync to a Sequin-hosted demo database
- Sync to your self-hosted database
Self-hosted database setup
Sequin requires Postgres v10 or later. Please make sure your database is running a recent enough version before proceeding.
If you need step-by-step guidance, read the setup guide for your source.
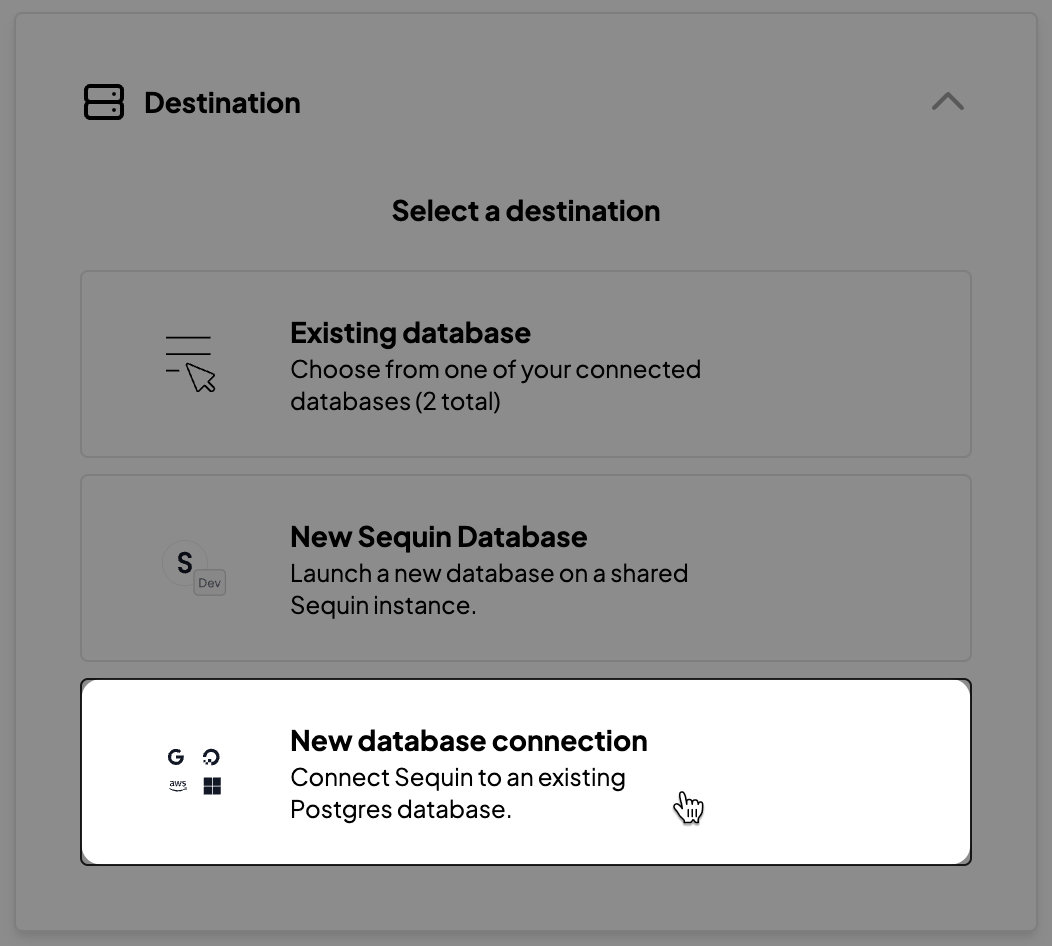
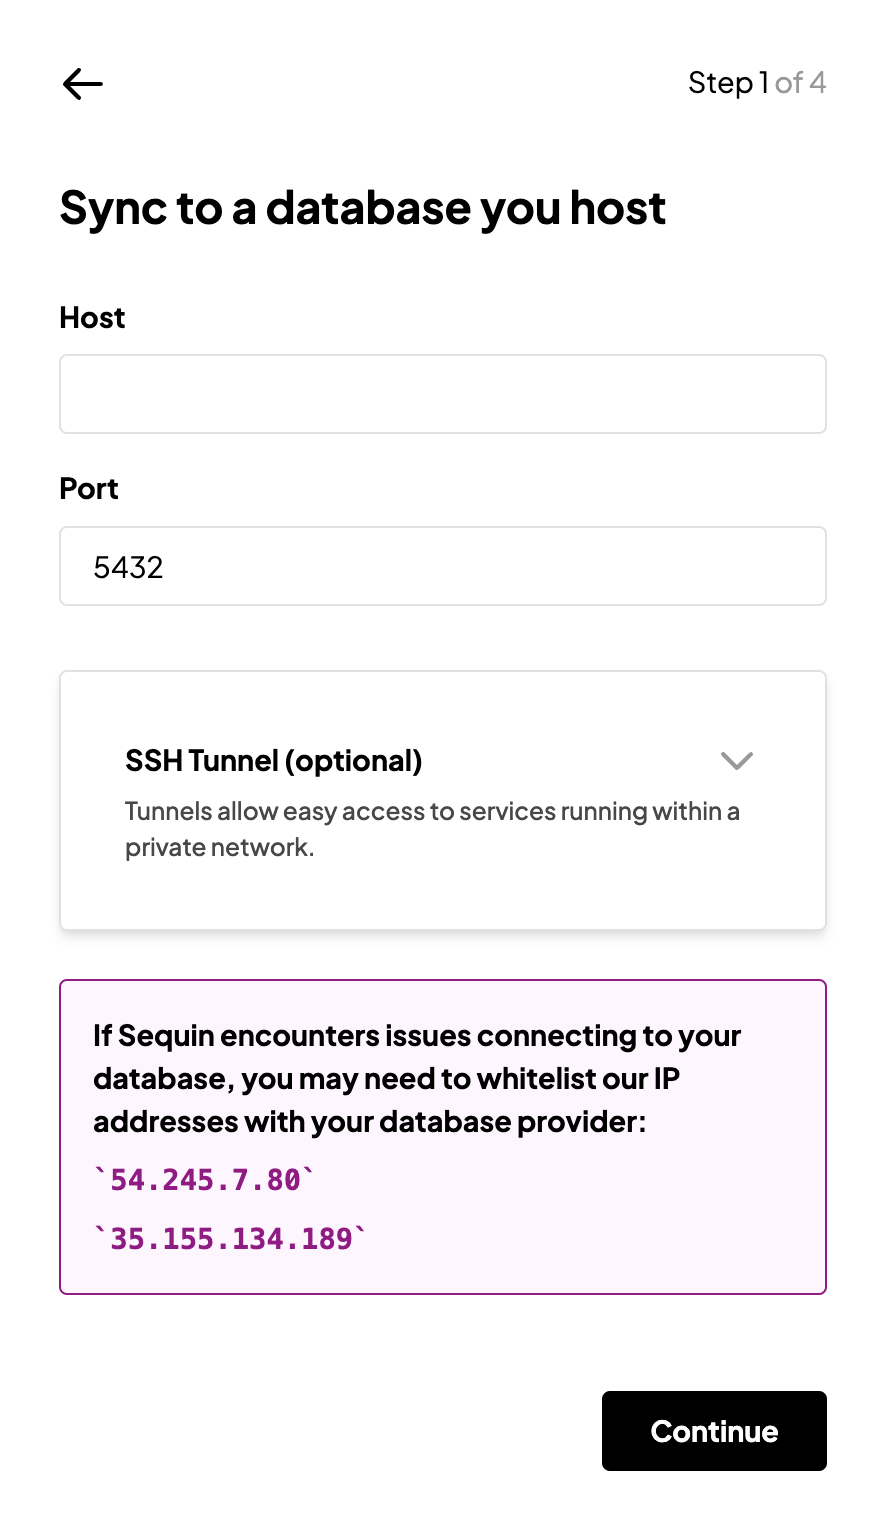
- Create a Postgres user for Sequin:
- Grant permissions:
After validating your user and database configuration, we may request additional permissions. Instructions will be displayed at the top of the database setup screen.
Sequin will only be able to read and write to the schemas it manages.
- Create a Sequin read role: You’ll grant this read role to database users to grant access to Sequin tables.
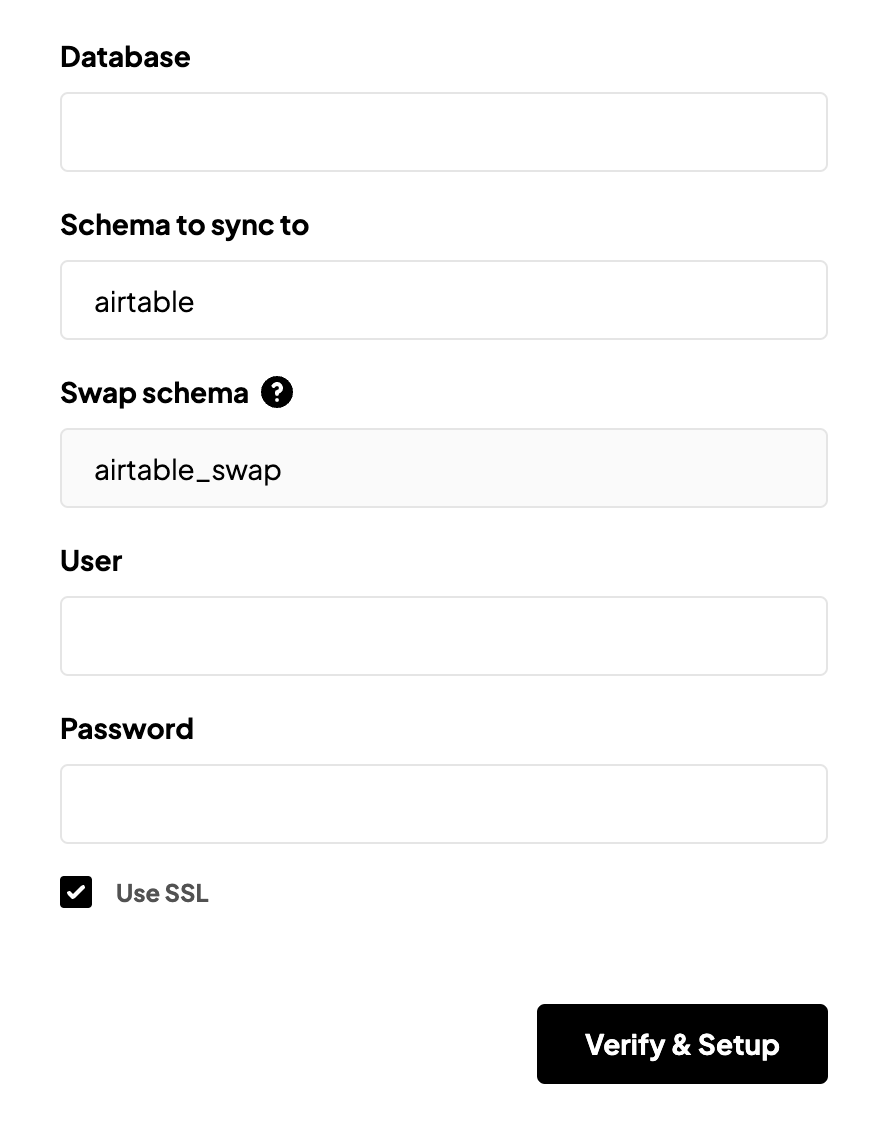
- Database: The name of the database you are connecting to (sometimes called the “
dbname”). - Schema to sync to: The name of the Postgres schema (or namespace) Sequin will create in your database. This schema will contain all the tables and data synced from your source. For example, if you’re syncing Stripe to your database, you might sync that data to a schema called
stripe.
USAGE and CREATE permissions to it:
- Credentials: Enter the username and password for the new database user you just created for Sequin in the previous steps.
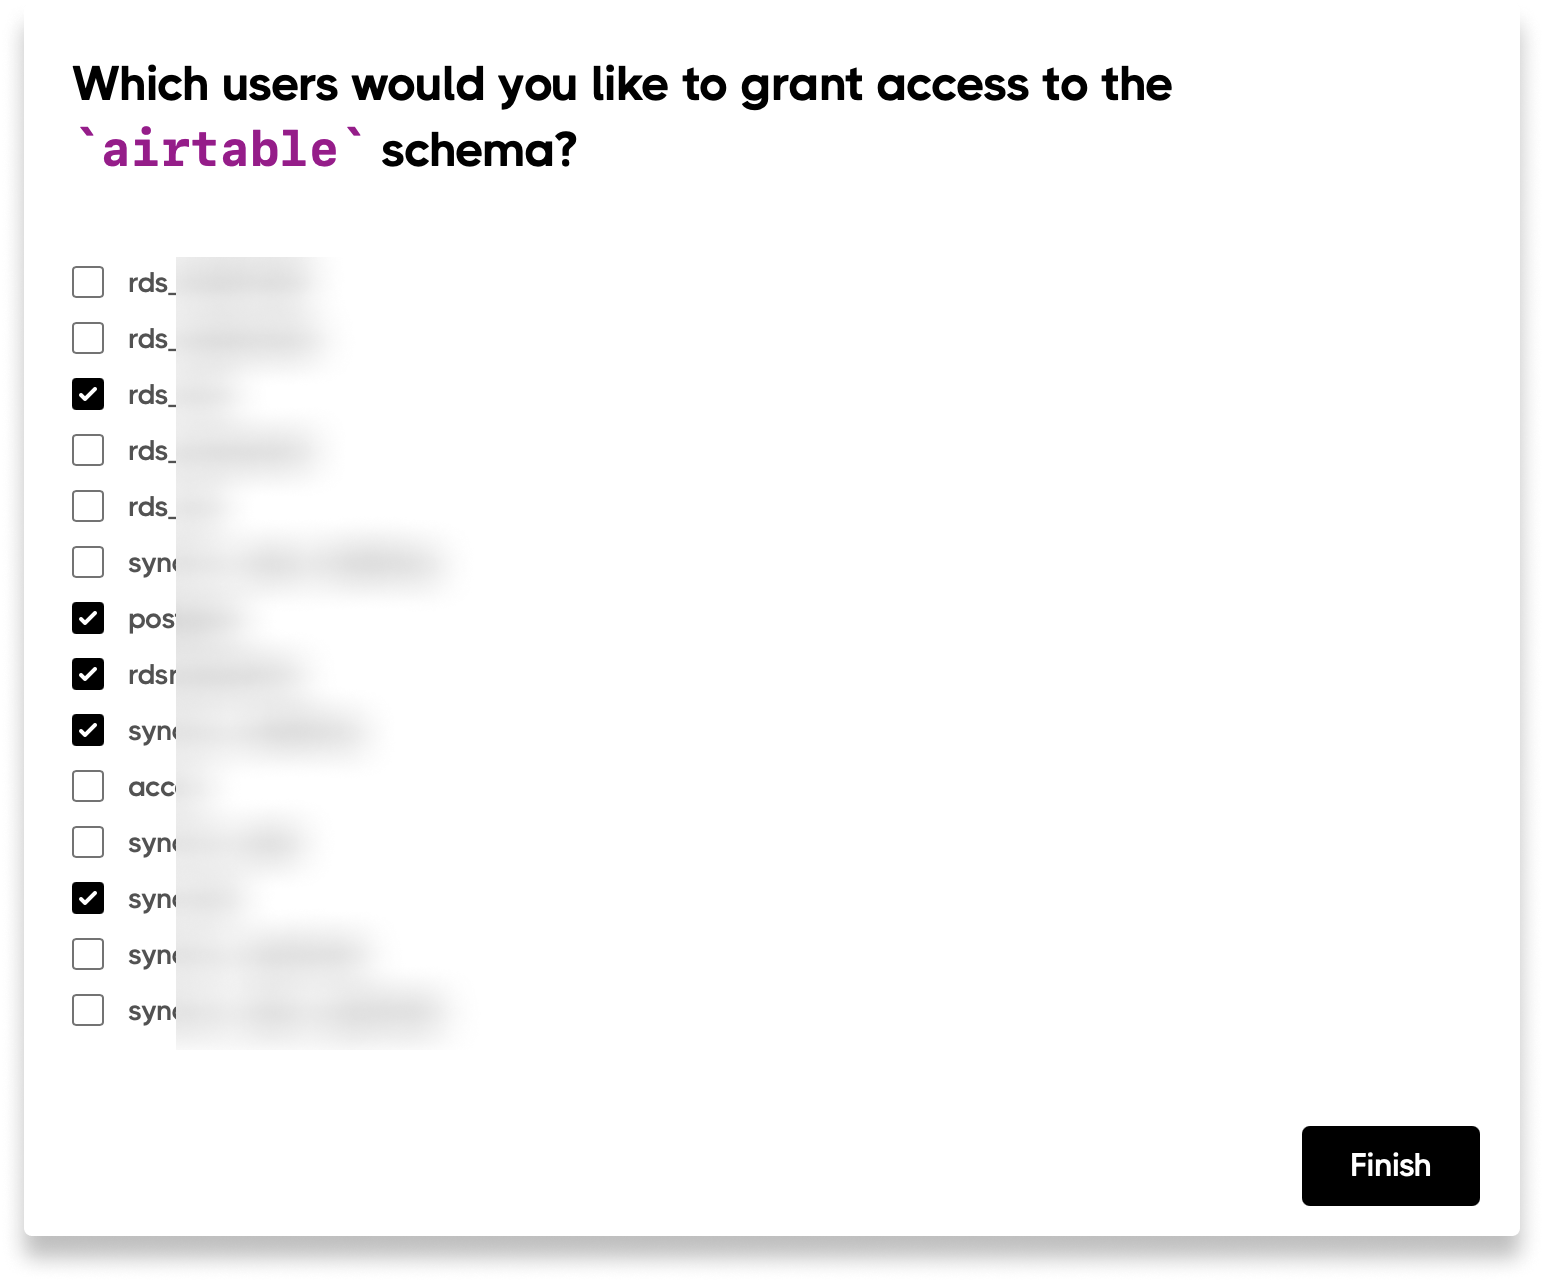
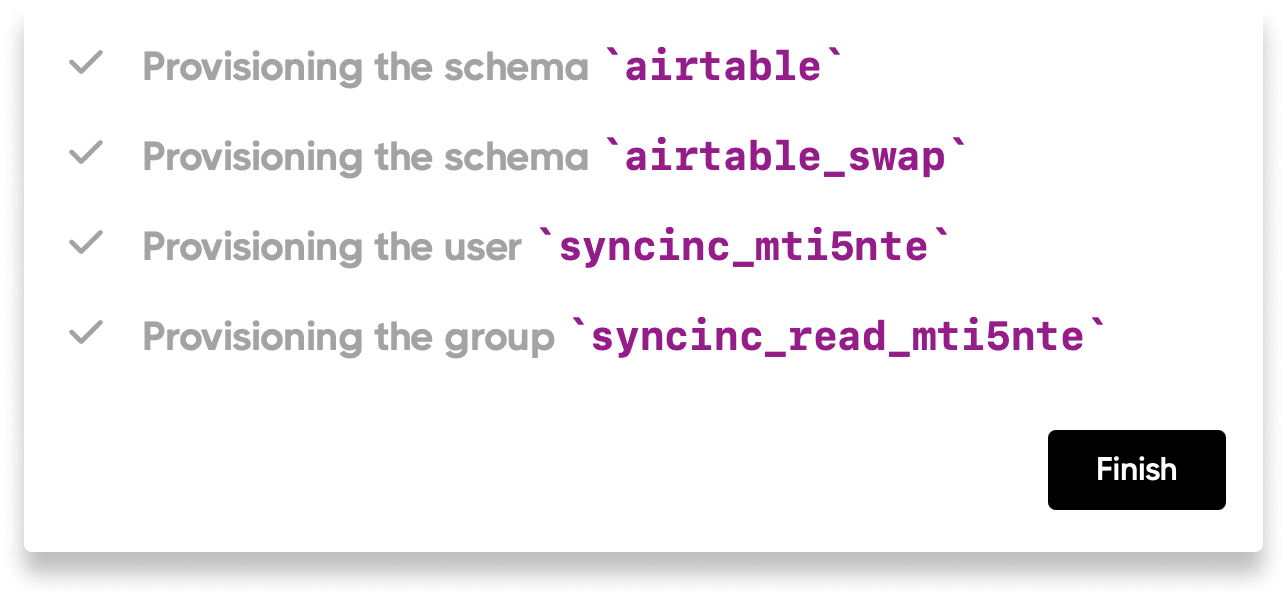
If you hit any errors please start a chat with us so we can help.
Inbound IP addresses
Sequin’s sync workers will make inbound requests using the following two IP addresses:54.245.7.8035.155.134.189
Regional Proxy
Sequin has several regional proxies you can use to connect to your database. If you’re using a proxy other thanus-west-2, you’ll need to allow inbound connections from the IP addresses of that proxy region:
| Provider | Region | Proxy Host | IP Addresses |
|---|---|---|---|
| AWS | us-west-2 (Oregon) | us-west-2.aws.sequindb.io | Same as Sequin’s sync workers |
| AWS | us-east-1 (Virginia) | us-east-1.aws.sequindb.io | 18.215.20.21754.210.150.114 |
| AWS | eu-west-1 (Ireland) | eu-west-1.aws.sequindb.io | 54.194.222.634.247.185.111 |
| AWS | ap-southeast-1 (Singapore) | ap-southeast-1.aws.sequindb.io | 52.74.34.8152.74.82.226 |
SSH tunnels
Your Postgres database may be hosted in a private VPC, inaccessible from the external internet. In that instance, you can use an SSH tunnel or bastion host to route traffic from the outside internet to your Postgres database. Setup your SSH tunnel with Sequin when you are connecting a new database in the Sequin console. During this setup, download theid_rsa_sequin_tunnel.pub public key file shown in the setup modal:
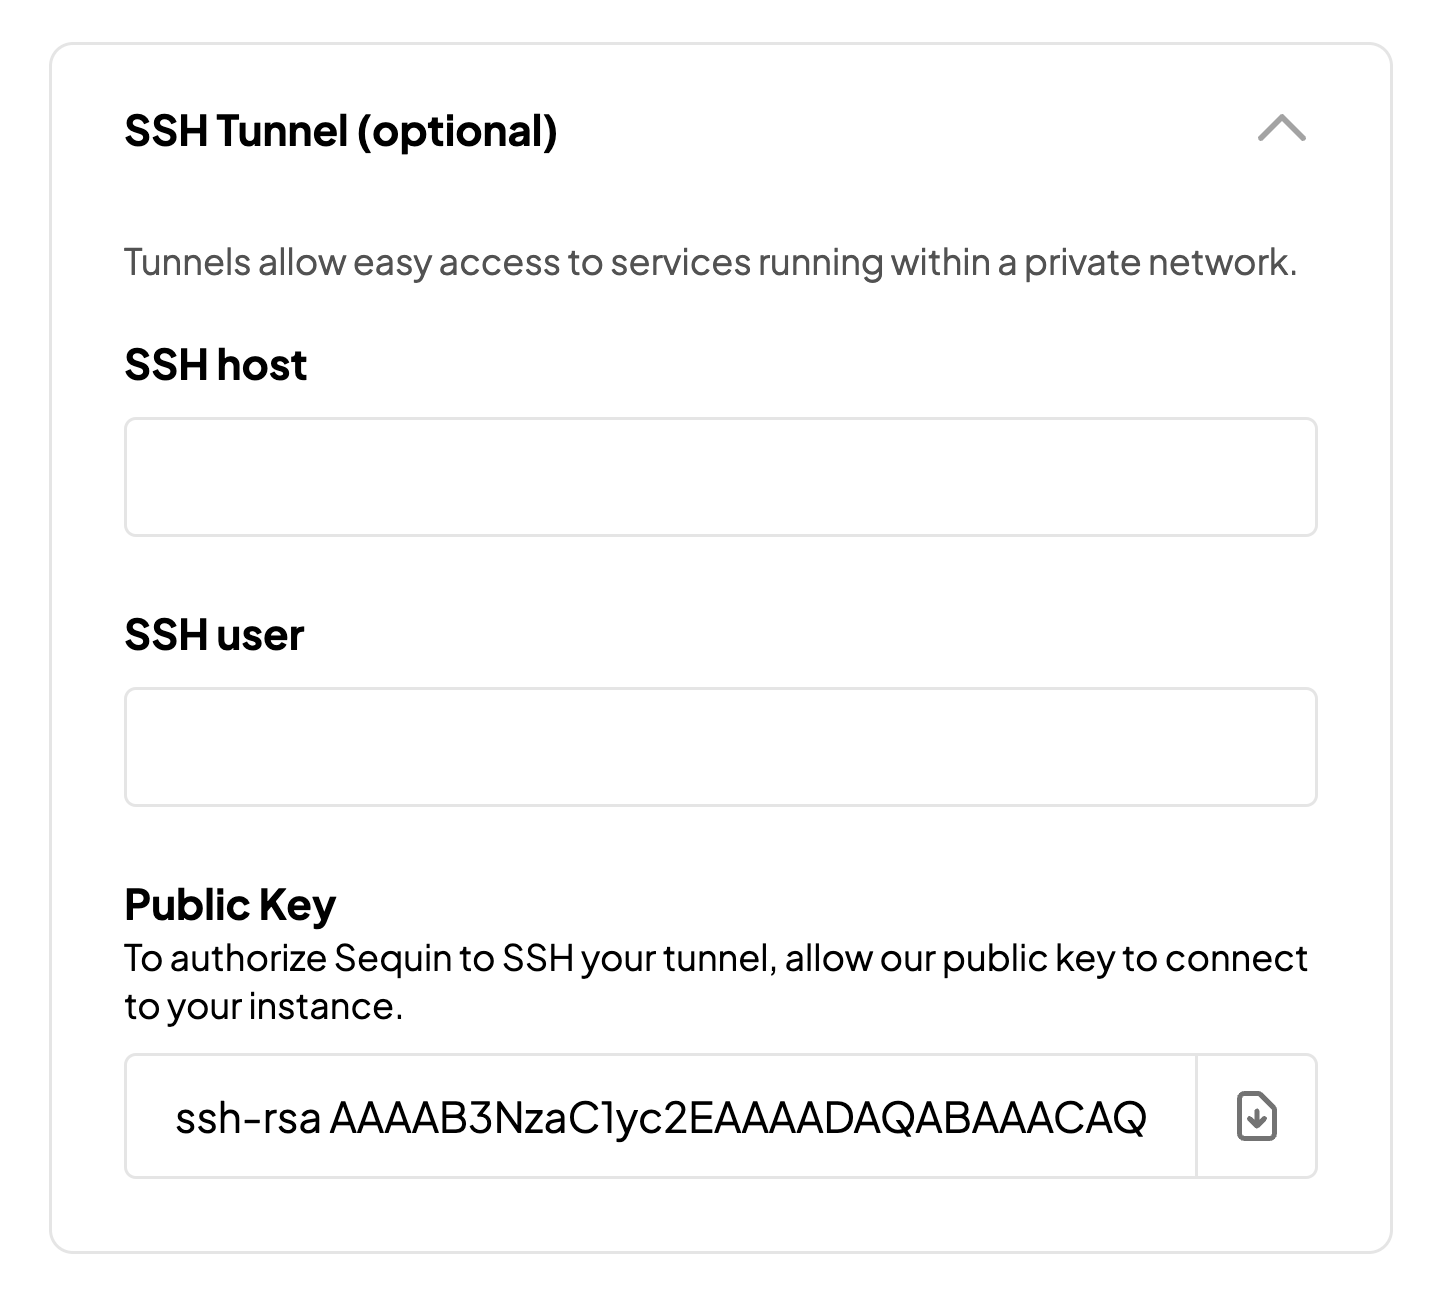
id_rsa_sequin_tunnel.pub in the home directory of the SSH tunnel user in the ~/.ssh/authorized_keys file:
id_rsa_sequin_tunnel.pub file into the authorized_keys file. Save the file and exit the text editor.
Make sure the authorized_keys file is secure. Run the following command:
If you encounter any issues or need further clarification, feel free to contact us.
SSL Certificates
If you require client SSL certificates to connect to your database, send us a note. This is often the case if you’re using Google Cloud as your database provider.SSL Modes
Postgres supports several different SSL modes, includingdisable. See this table for more information.
Syncing additional sources
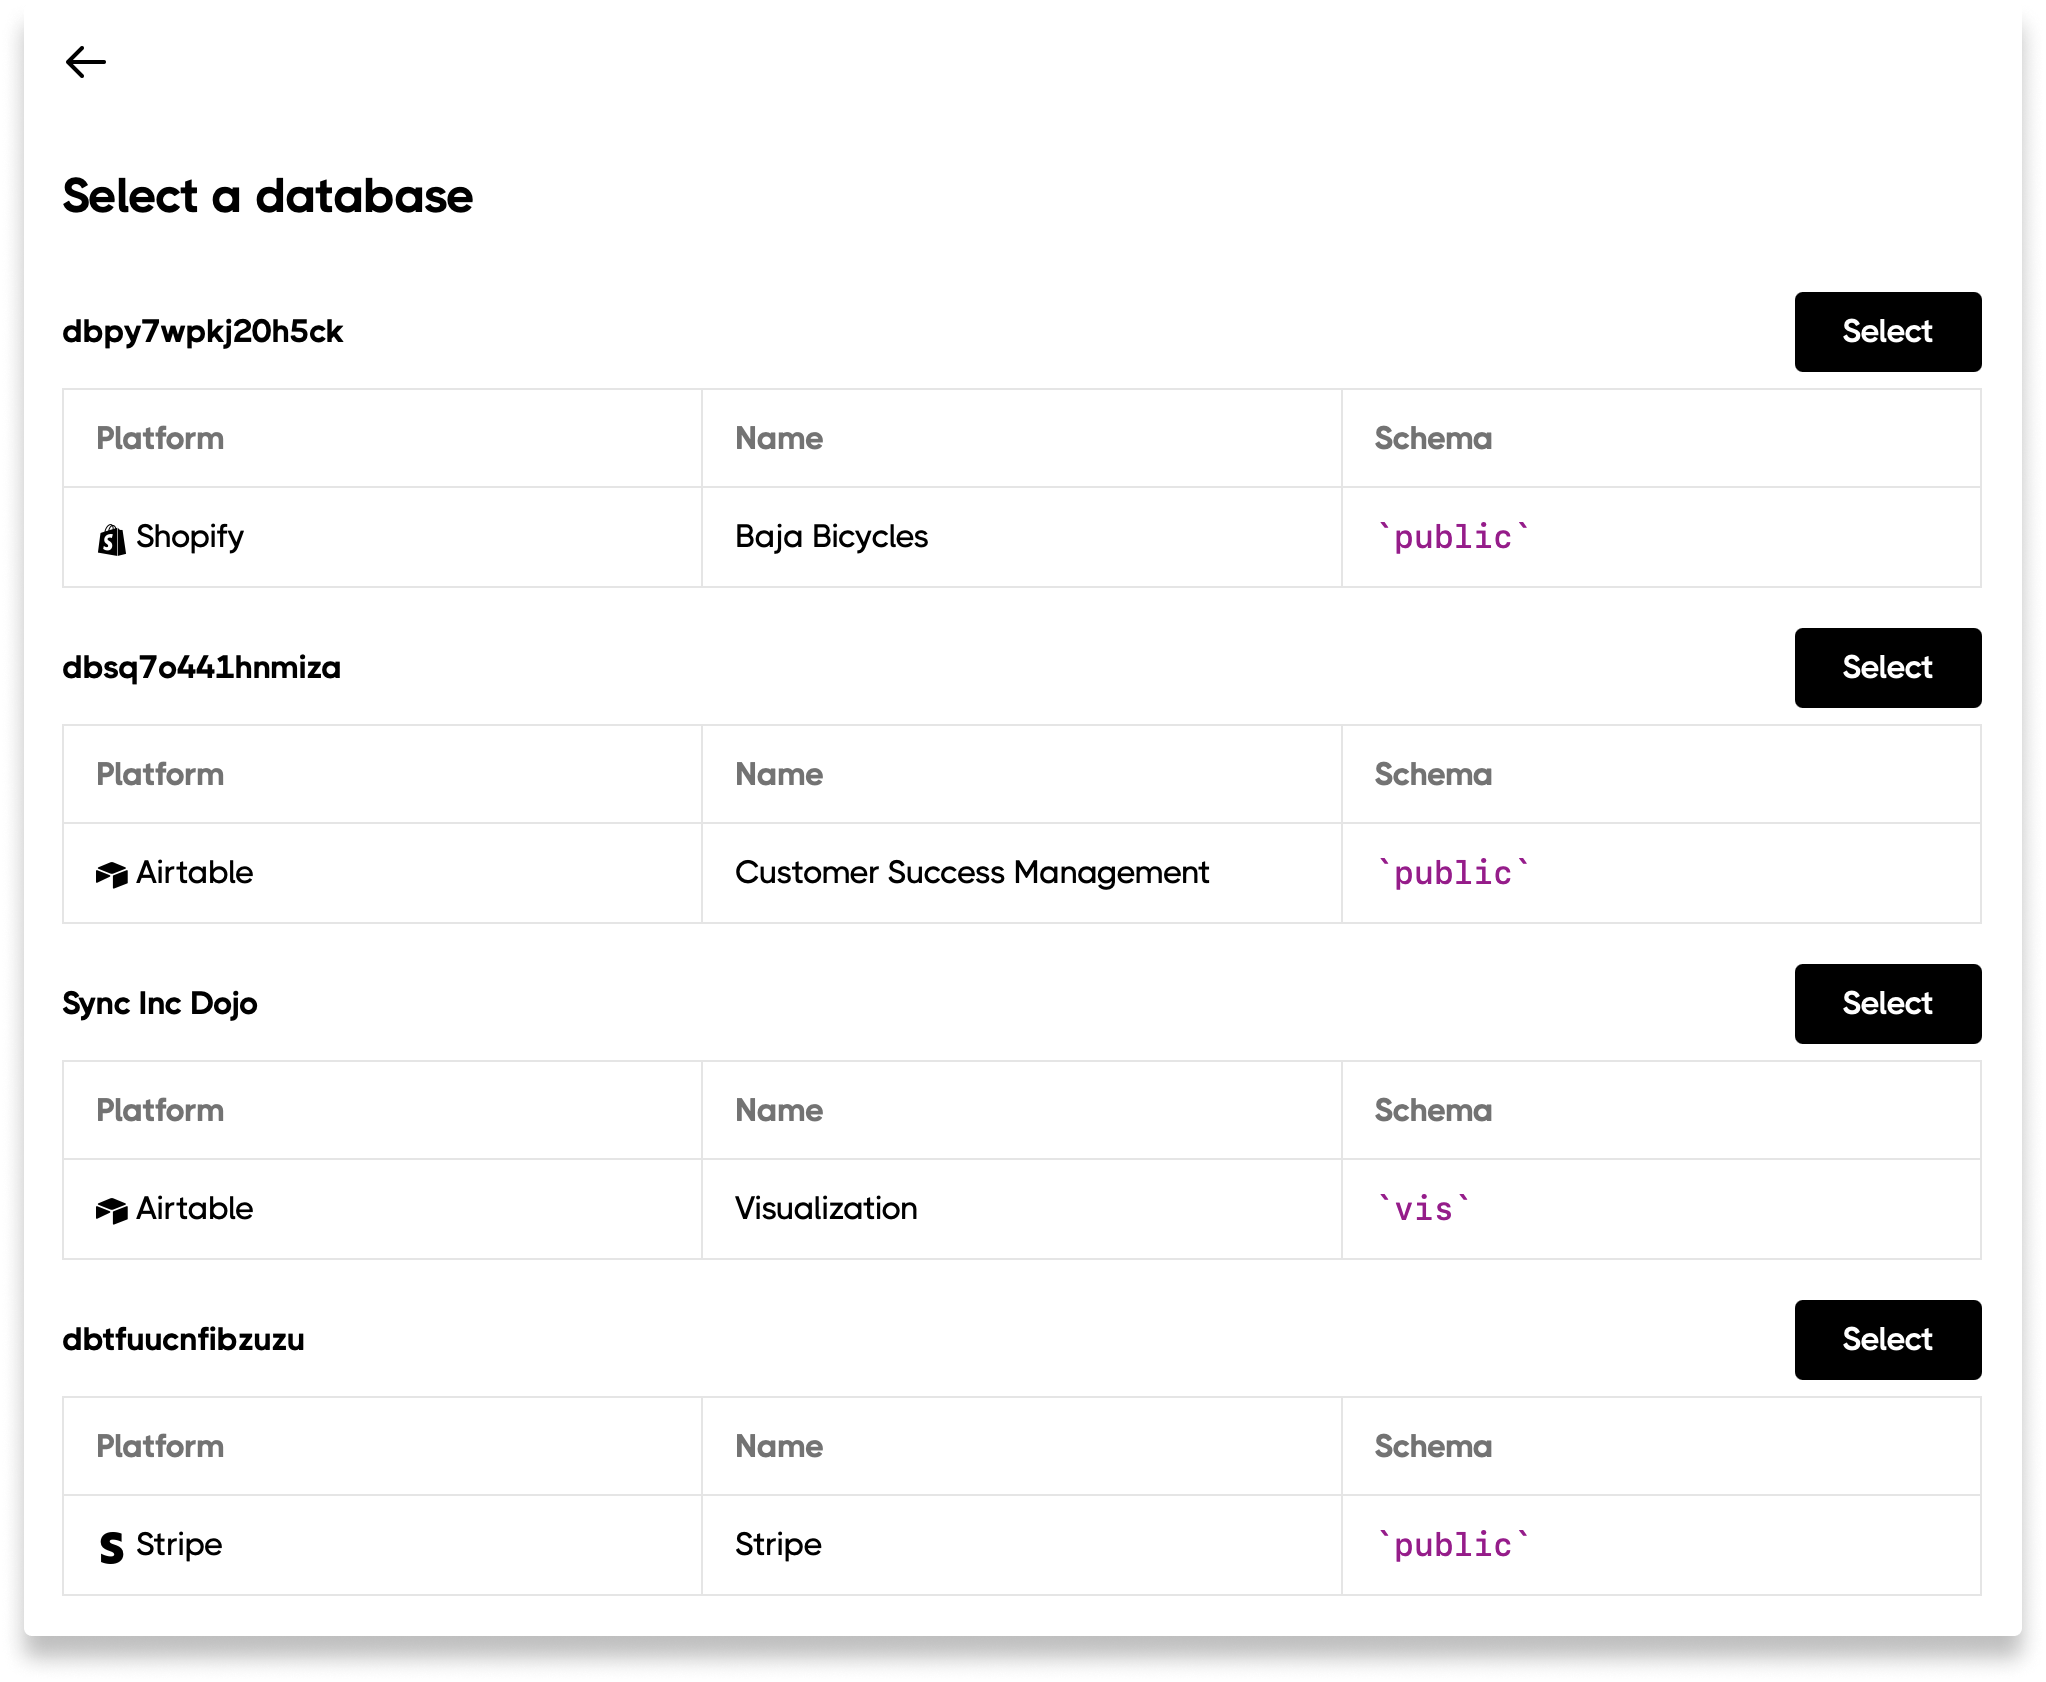
You can sync multiple sources into unique schemas within your self-hosted database. This makes querying across your data easy. Here is how to setup multiple sources to sync to your self-hosted database: Step 0: If you haven’t already, connect your self-hosted database to Sequin. Step 1: Select the new Source you want to sync to your database and connect it to Sequin. Step 2: In the Destination section, click the Edit button and select Choose Existing: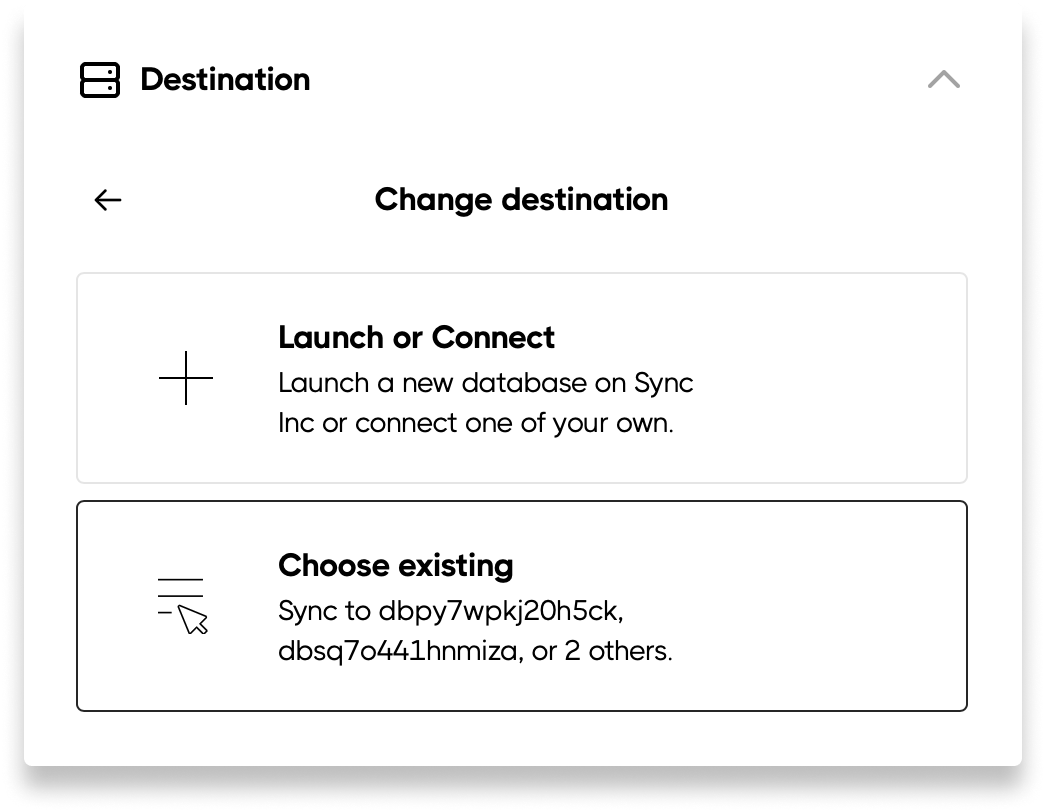
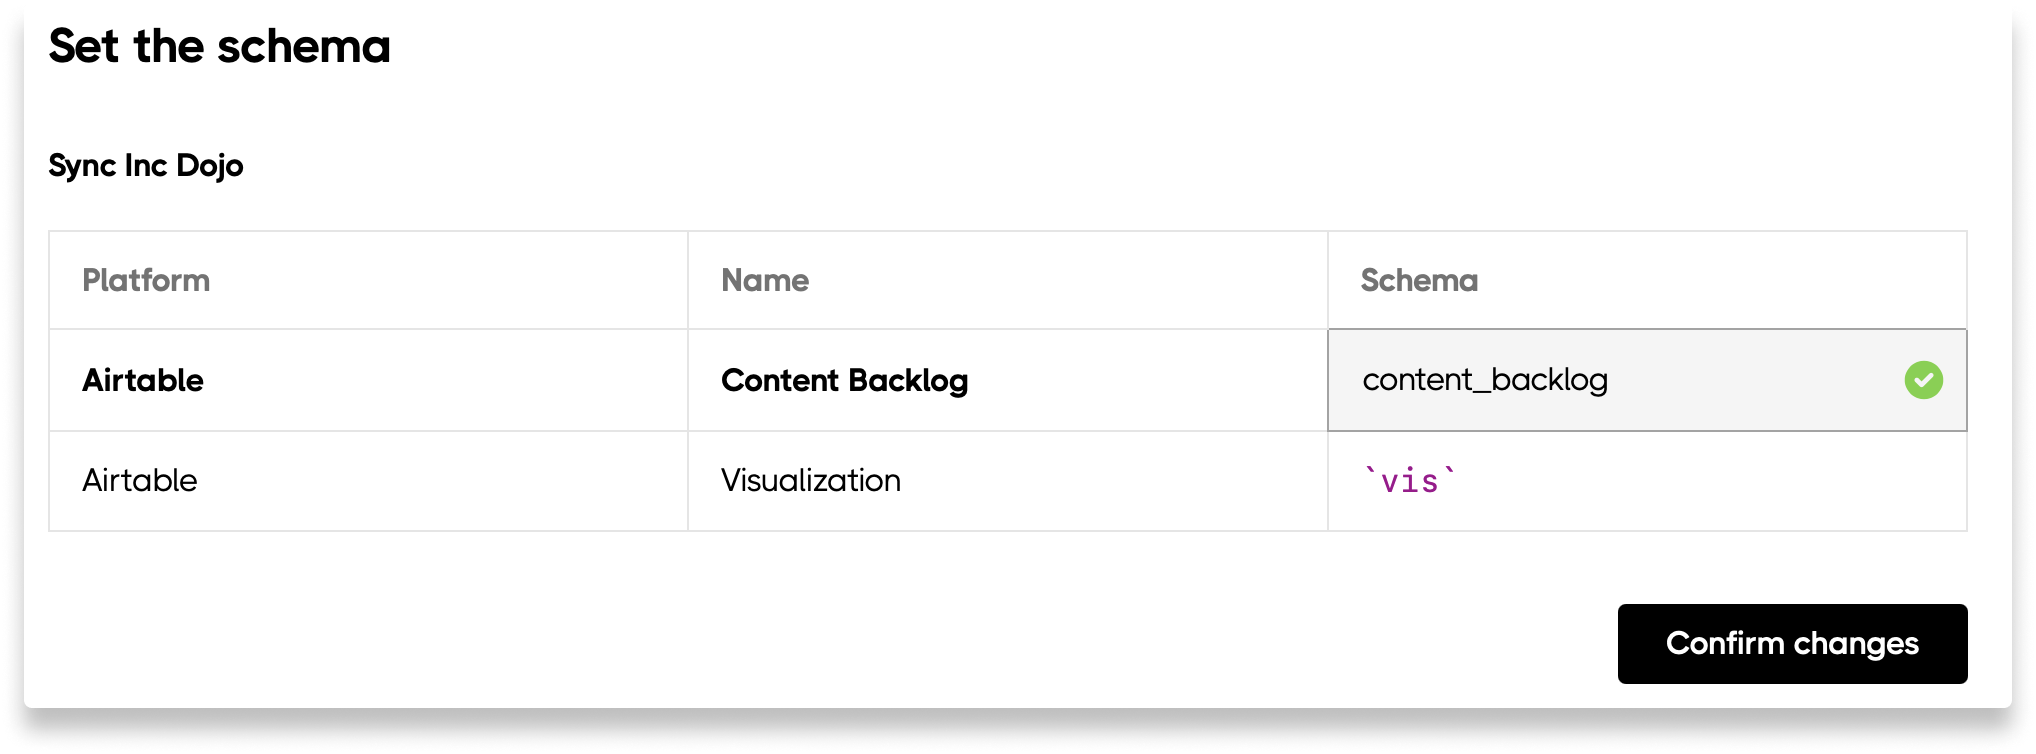
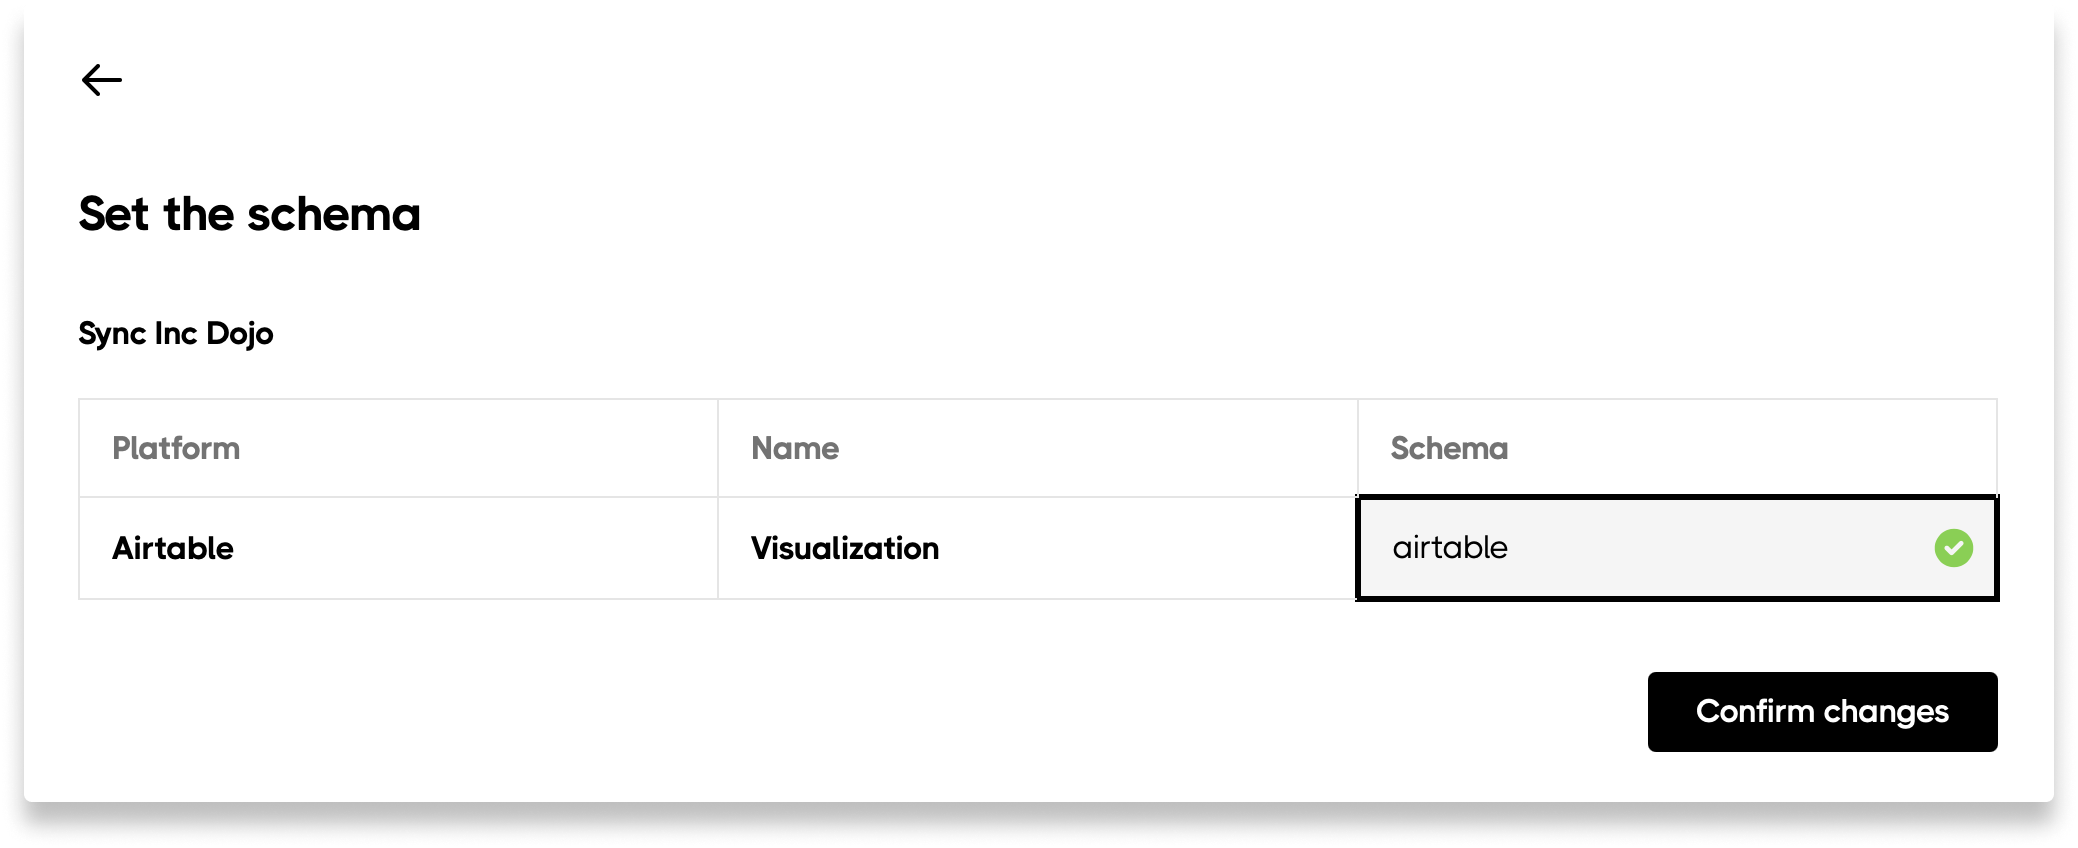
Changing schema names
You can change the name of the schema we sync to. Step 1: Edit your resource by clicking the pencil icon and selecting Edit details: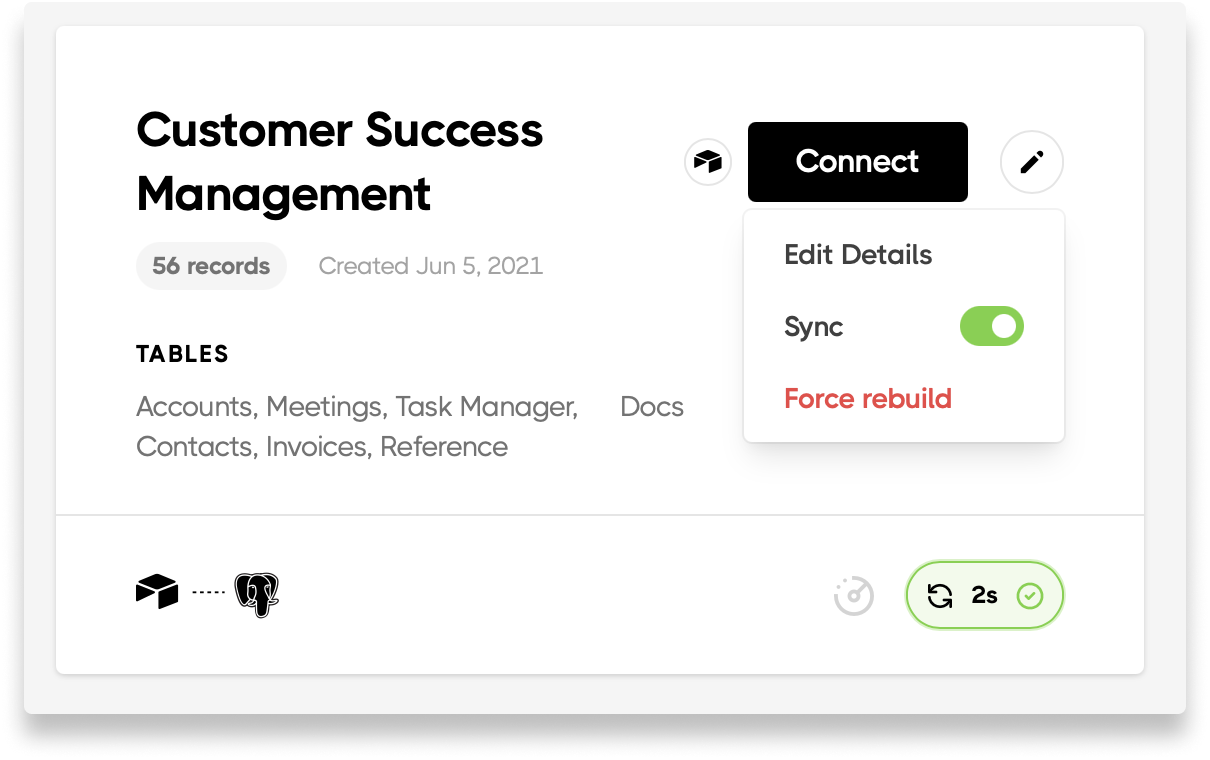
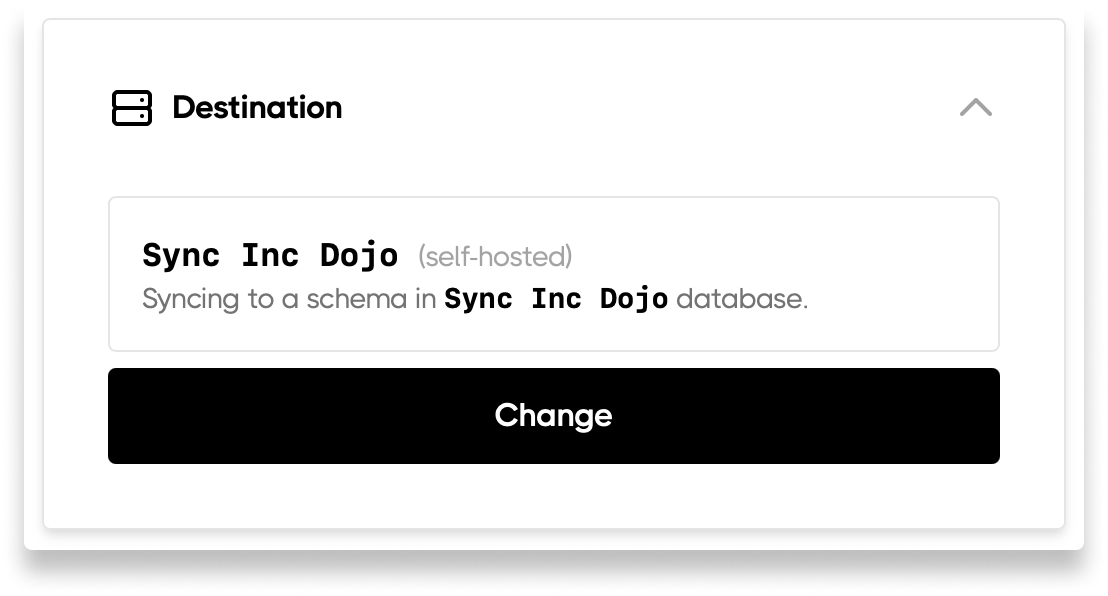
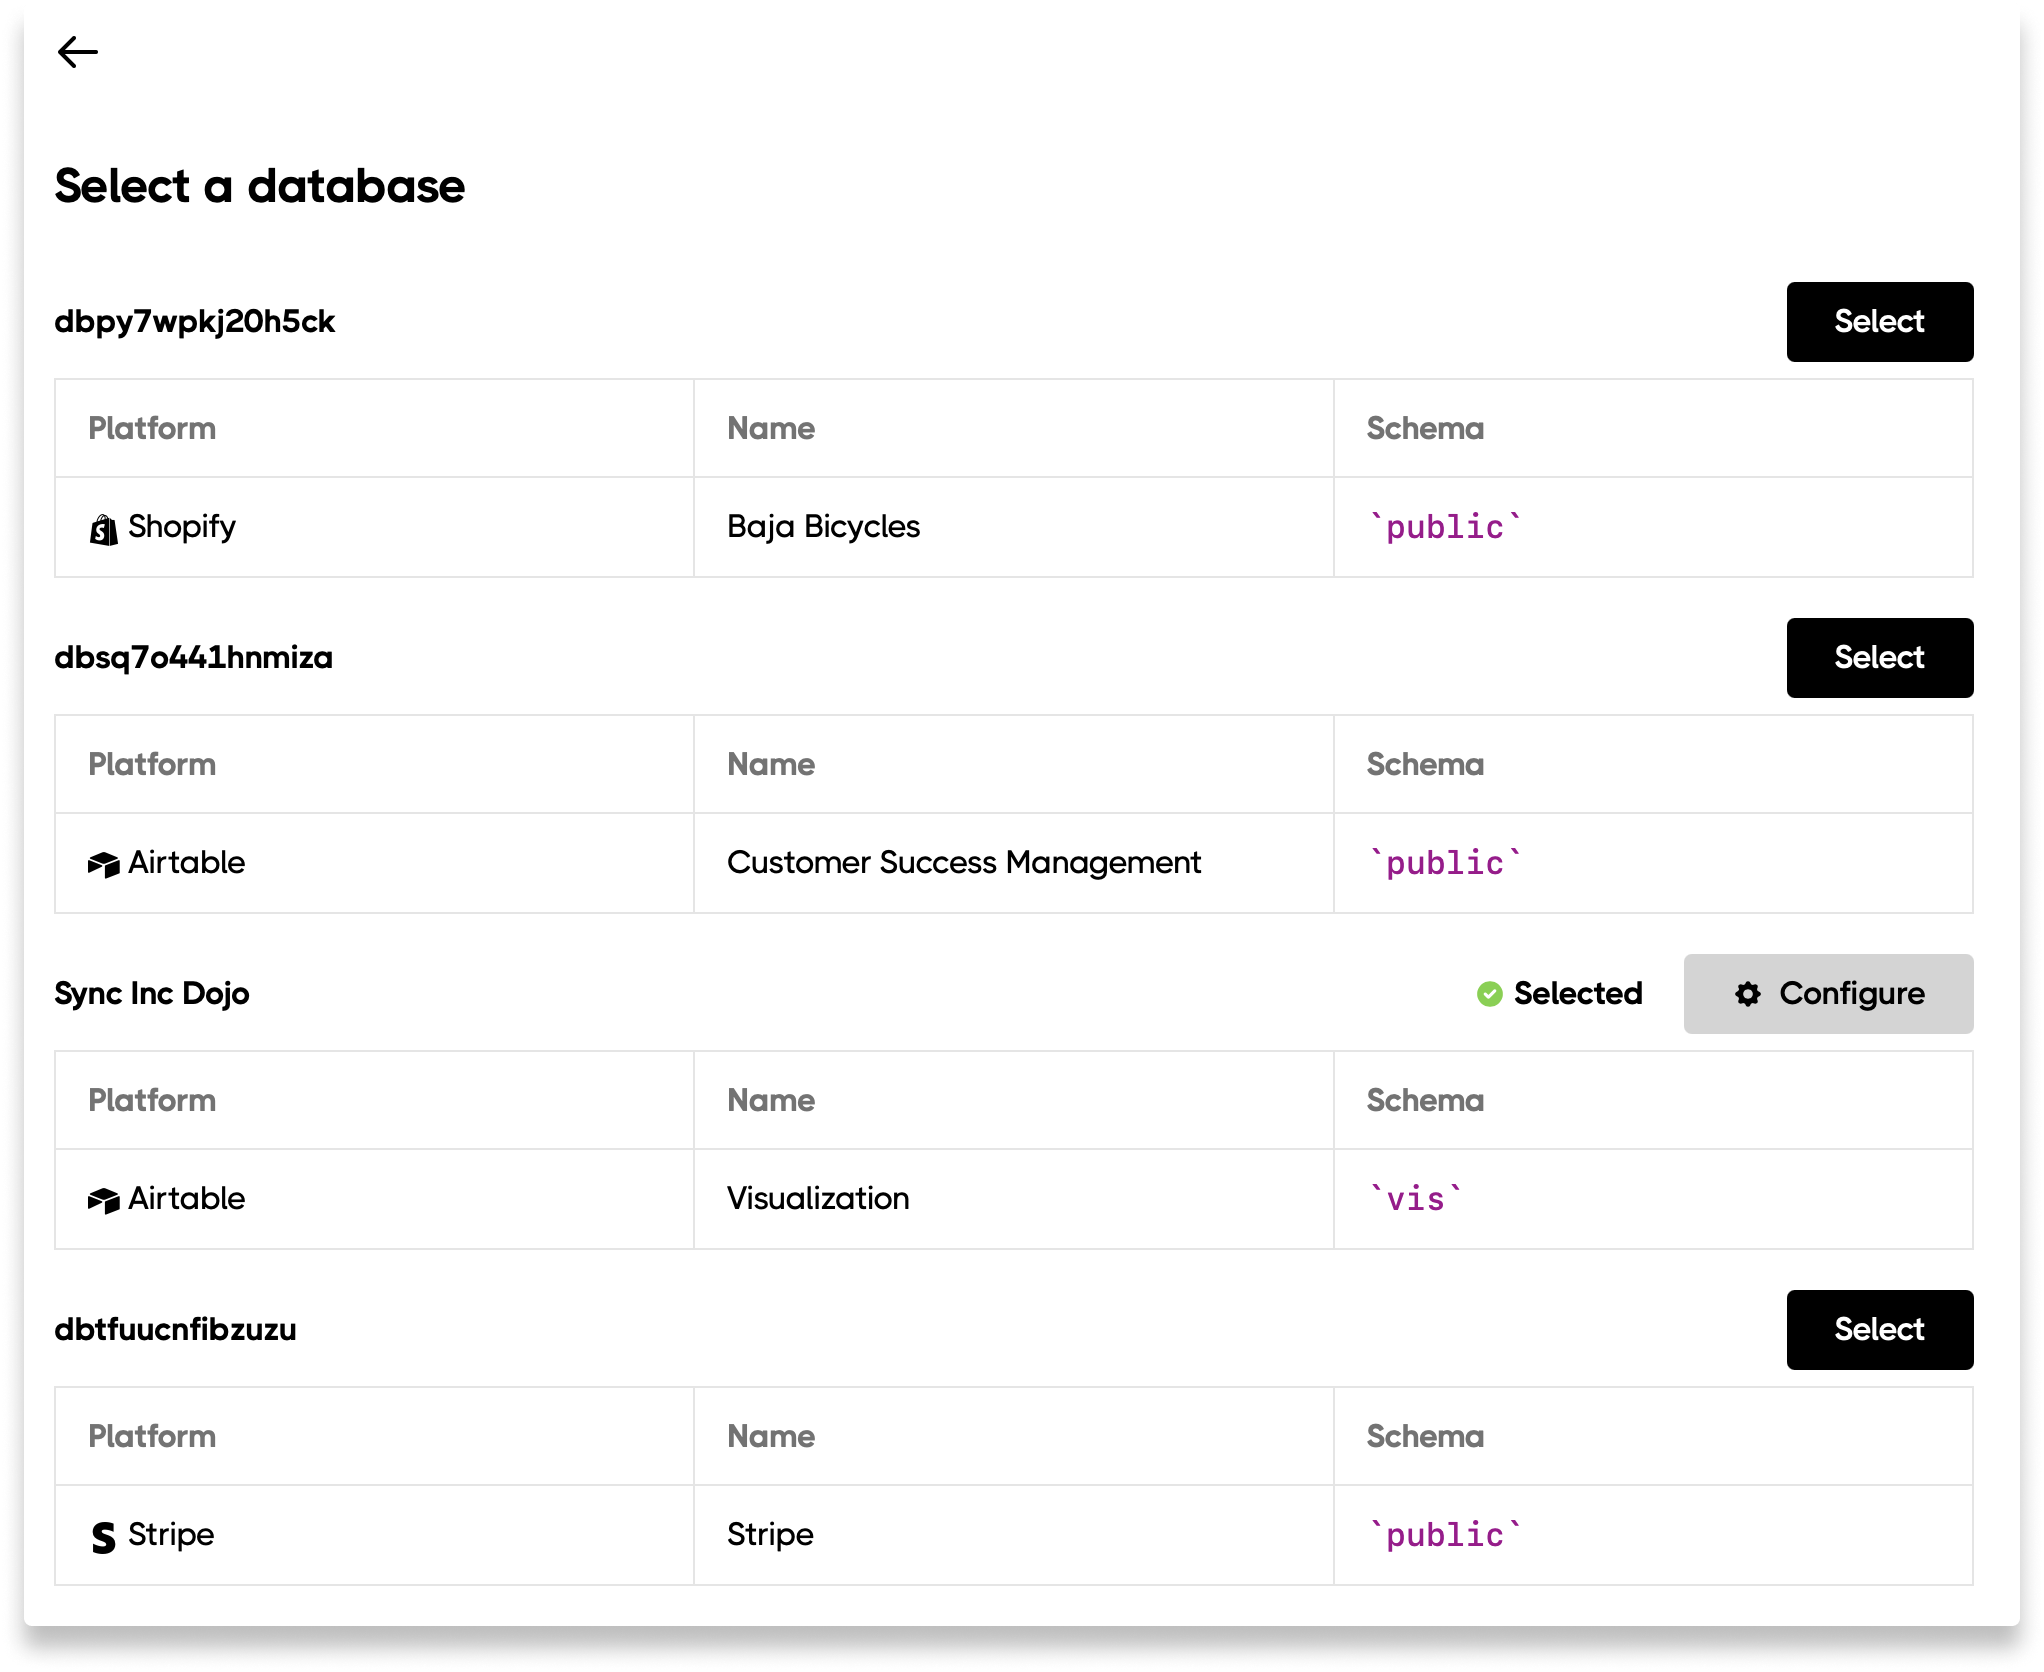
Permissions
PostgreSQL permissions define what a user can do. You can define what a user can access (likeCONNECT to your database) and what actions they can take (like SELECT and CREATE). These permissions can be defined at the database, schema, table, and view level.
A role is a set of permissions. A user is a role that has login permissions (includes a password that someone can use to login to the database).
In Postgres, a group is the same thing as a role. So we’ll just use the role syntax everywhere.
- The sync user (e.g.
sequin): This is the user Sequin uses to connect to your database. This user only has permission to connect to your database and create the schemas, tables, and views associated to your sync. This user will need owner privileges on any table or view related to your sync. - The read role (e.g.
sequin_read): This role has the privilege to read Sequin tables and views in your database. Any user in your database that needs to read synced data should be granted thesequin_readrole. It is provided for convenience and is not used by the Sequin sync process.
If you used our legacy automated database setup flow, note that your specific user and role names start with
sequin_ and sequin_read_, but include a random alphanumeric appendix. The names are provided during the provisioning process of your database and available on the console at any time.The Sequin user
Thesequin user creates and updates the data we are syncing for you. When syncing to your database we first create the Sequin user:
- Connect to your database
- Create new schemas
The permissions granted to the Sequin user do not grant the user access to the rest of your database. The Sequin user will only be able to read and write to the schemas it creates.
The Sequin read role
Thesequin_read role is provided for your convenience. The role has permission to read all the Sequin data in your database. You can give or revoke the read role permission to your database users at any time.
You can manually create this read role during the database setup. If we detect a role named sequin_read, we’ll grant that role the appropriate permissions. The sequin user needs to be admin of the sequin_read role. The following command will grant the sequin user admin options of the role during creation:
admin option like so:
- You can check your Sequin console.
- You can just let your SQL client auto-complete it after typing
sequin_read+ “tab.” - You can run this query:
Additional tables and views
Tables
You may want to create new tables in your Sequin schema. As a best practice, we encourage you to create any additional tables in a different schema. But, in instances where the table needs to be in a Sequin-owned schema, make sure that the Sequin user does not own the table. Sequin won’t drop tables it doesn’t own. To verify the owner of a table, use this query:Views
Postgres’ views let you turn a query into a table. This lets you customize the schema and format of the data that Sequin syncs. Because views are just queries under the hood, they’ll always return the latest data. Treat views just like tables (above): make sure that Sequin is not the owner of the view.Using localhost
We recommend using ngrok to create a secure tunnel from your localhost database connection to the outside internet. The process below is explained in more detail in ngrok’s getting started guide.- Ensure your local Postgres server is running
- Install the ngrok agent. Instructions for how to do that can be found here.
- Connect your ngrok agent to your ngrok account. Instructions for for how to do that can be found here.
- Start ngrok
ngrok http 5432(assuming Postgres is running on port5432). TheForwardingproperty in the ngrok UI in your terminal is the url you’ll use with Sequin’s host field. Ngrok’s detailed instructions for this step can be found here.
Common connection issues
Connections timeout or hang
If you’re experiencing connection timeouts or our system can’t seem to reach the database server, it’s likely one of two problems:- Firewall rules: It’s possible firewall rules are preventing the connection. To resolve this, adjust the firewall settings associated with your database server to allow traffic from our system’s IP addresses on your database’s port.
- Network routing issues: It’s possible your routing table is misconfigured or your database is not setup for outside access.
nc will “hang open” if it’s able to connect, otherwise it will crash:
Connection refused errors
These are likely due to a mismatch between the hostname and port of your database and those configured in Sequin.SSL/TLS failures
There are four possible permutations for SSL/TLS configuration. When there is a mismatch, you’ll receive a SSL/TLS error:- ❌ Sequin is configured to use TLS, but the database does not support it.
- ✅ Sequin is configured to use TLS, and the database supports it.
- ✅ Sequin is configured to not use TLS, and the database does not require it.
- ❌ Sequin is configured to not use TLS, but the database requires it.
Common Authentication Issues
Invalid Authorization Specification
invalid_authorization_specification typically occurs when there is a problem with the way you’re specifying authentication information while trying to connect to a PostgreSQL database. The most common way this happens while using Sequin is when there is a mismatch between the authentication method specified by the database and how Sequin is trying to connect. If you encounter this error, either ensure you’re using a password authentication method, or you have Use SSL selected.
