In just a couple of minutes, you’ll have a Postgres database with all your Stripe data, syncing in real-time.Documentation Index
Fetch the complete documentation index at: https://sequin.io/docs/llms.txt
Use this file to discover all available pages before exploring further.
Connect your Stripe API
First, add your Stripe secret key to Sequin: Step 1: Create a new Sequin account at https://app.sequin.io/signup. Step 2: Select Stripe as the platform you want to sync.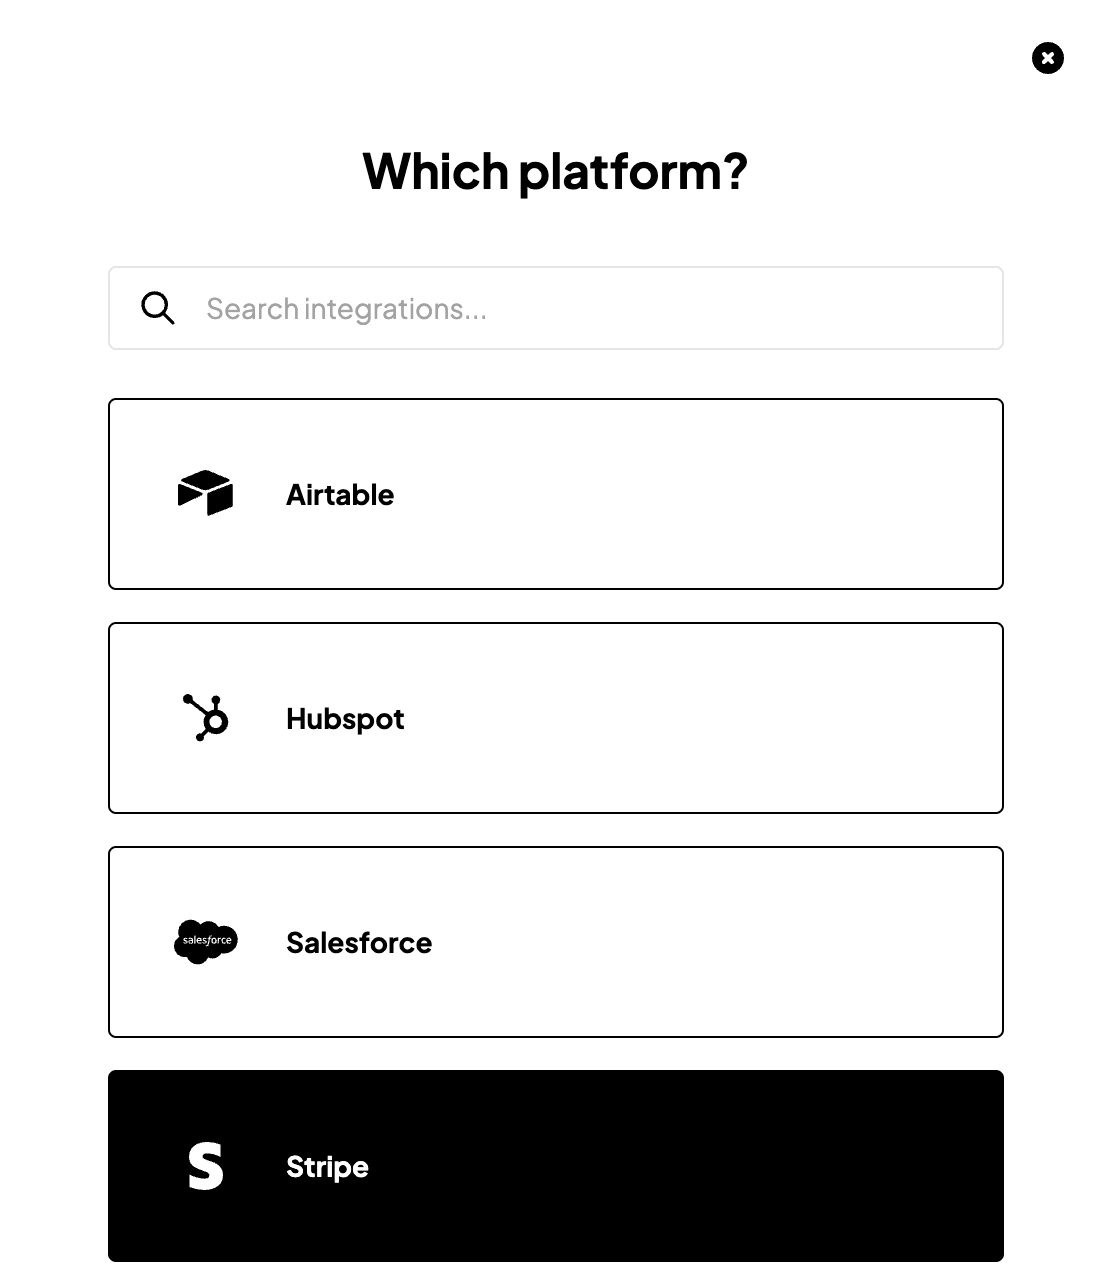
sk_live_). On our console, click the How do I get this? link if you need a little help generating your API key or follow this link to your Stripe dashboard.
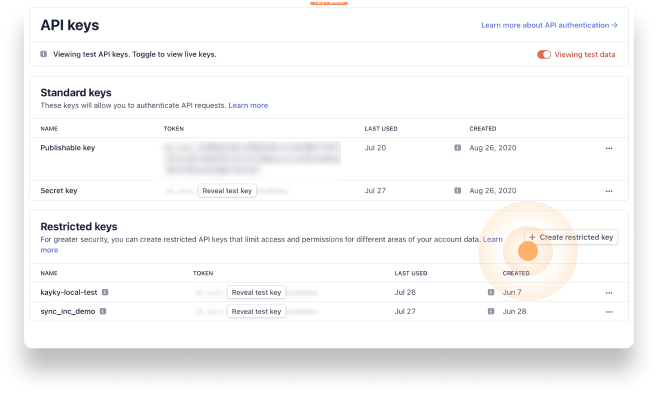
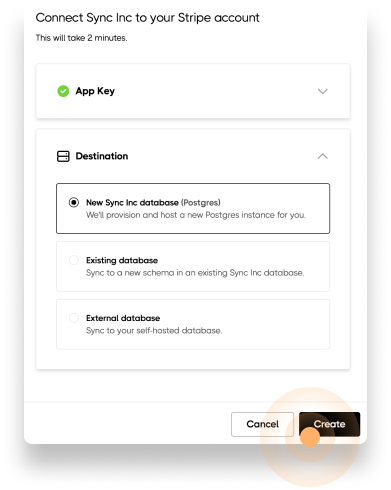
As a best practice, we recommend you create a new Restricted secret key for Sequin. Sequin needs read permissions for everything and just write access for webhooks.Step 4: Select the tables you want to sync. You can choose which fields will sync to your database and edit the column name for each field by clicking the gear icon. Step 5: Connect to the destination database you want to sync your Stripe data to. We suggest you sync to a database you host by choosing the Connect option and following the steps to connect to your database. Or, if you want to get up and running quickly, click the Launch option to spin up a demo database we host for you (on Amazon RDS). Step 6: Click Create.
Query your Stripe data using SQL
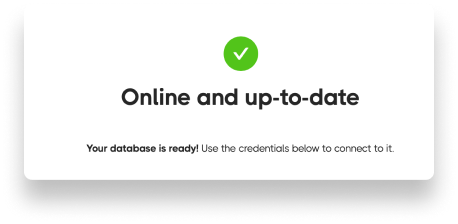
Connect to your database via Sequin’s Postgres Proxy, which lets you write to your synced tables as well as read them. We’ll use psql as an example in this setup guide, but you can use any SQL client that works with Postgres. Step 1: Go to Connection Instructions on the Sequin console. Copy thepsql command to connect to your database via the Proxy.
Step 2: Open your terminal, and paste the psql command. Press Enter. This will open a connection to your database so you can write your first query:
\dt:
_sync tables which Sequin uses to manage your sync.
Step 4: Write your first query. You can start with a simple select to get your bearings:
id, name, and address for a specific customer to use in the next step:
id in the last step of this setup guide.
Write back to Stripe
To create, update, or delete objects in Stripe, you caninsert, update, or delete rows in your Postgres database.
When you’re connected to your database through the Sequin Proxy, the Proxy listens for changes. When you make a mutation, the Proxy applies the mutation to Stripe’s API first. If the mutation succeeds, your database is updated as well. If it fails, your database mutation will be rolled back, and you’ll receive a Postgres error.
In this example, you’ll update the customer in the prior step by giving them a new shipping address:
psql and check the contact you just updated:
Next steps
Your Stripe tables are now available as fully readable and writeable tables in your database. You can query for all your data using SQL, and mutate data thanks to Sequin’s Postgres Proxy. To build on this foundation, here are some next steps:- Setup your ORM to work with your synced tables.
- Edit the Stripe objects and properties you’re syncing at any time.
- Create views on your Stripe data to tailor your schema to your needs.
- Invite your team to your Sequin account and start building!