Pardon the mess

You are viewing docs related to an older version of Sequin. We’re in the process of updating our provider-specific guides and will be done in a few weeks (May 2024). Please click here to view the latest version of the docs.

If you’re interested in Shopify and want to learn more about what’s changing, send us a note.

This guide walks you through setting up Shopify on Sequin.

In just a couple of minutes, you’ll have a Postgres database with all your Shopify data, syncing in real-time.

Connect your Shopify Store

First, connect to your Shopify store using your Shopify credentials.

Step 1: Create a new Sequin account at https://console.sequin.io/signup.

Step 2: Select Shopify as the platform you want to sync.

Step 3: Enter your .myshopify.com store domain and click the Connect to Shopify button.

Enter your Shopify store domain

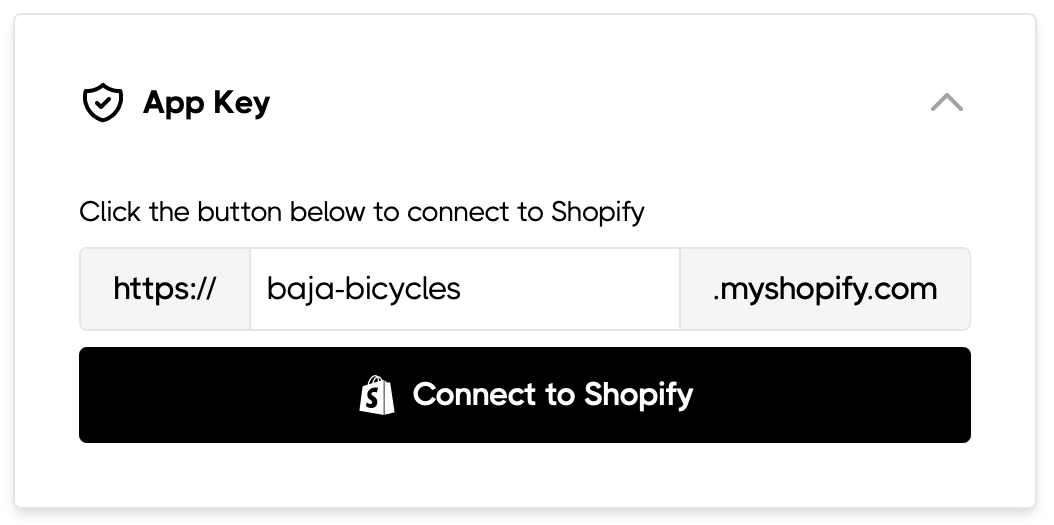
You can find your .myshopify.com domain from the Domains page of your Shopify admin.

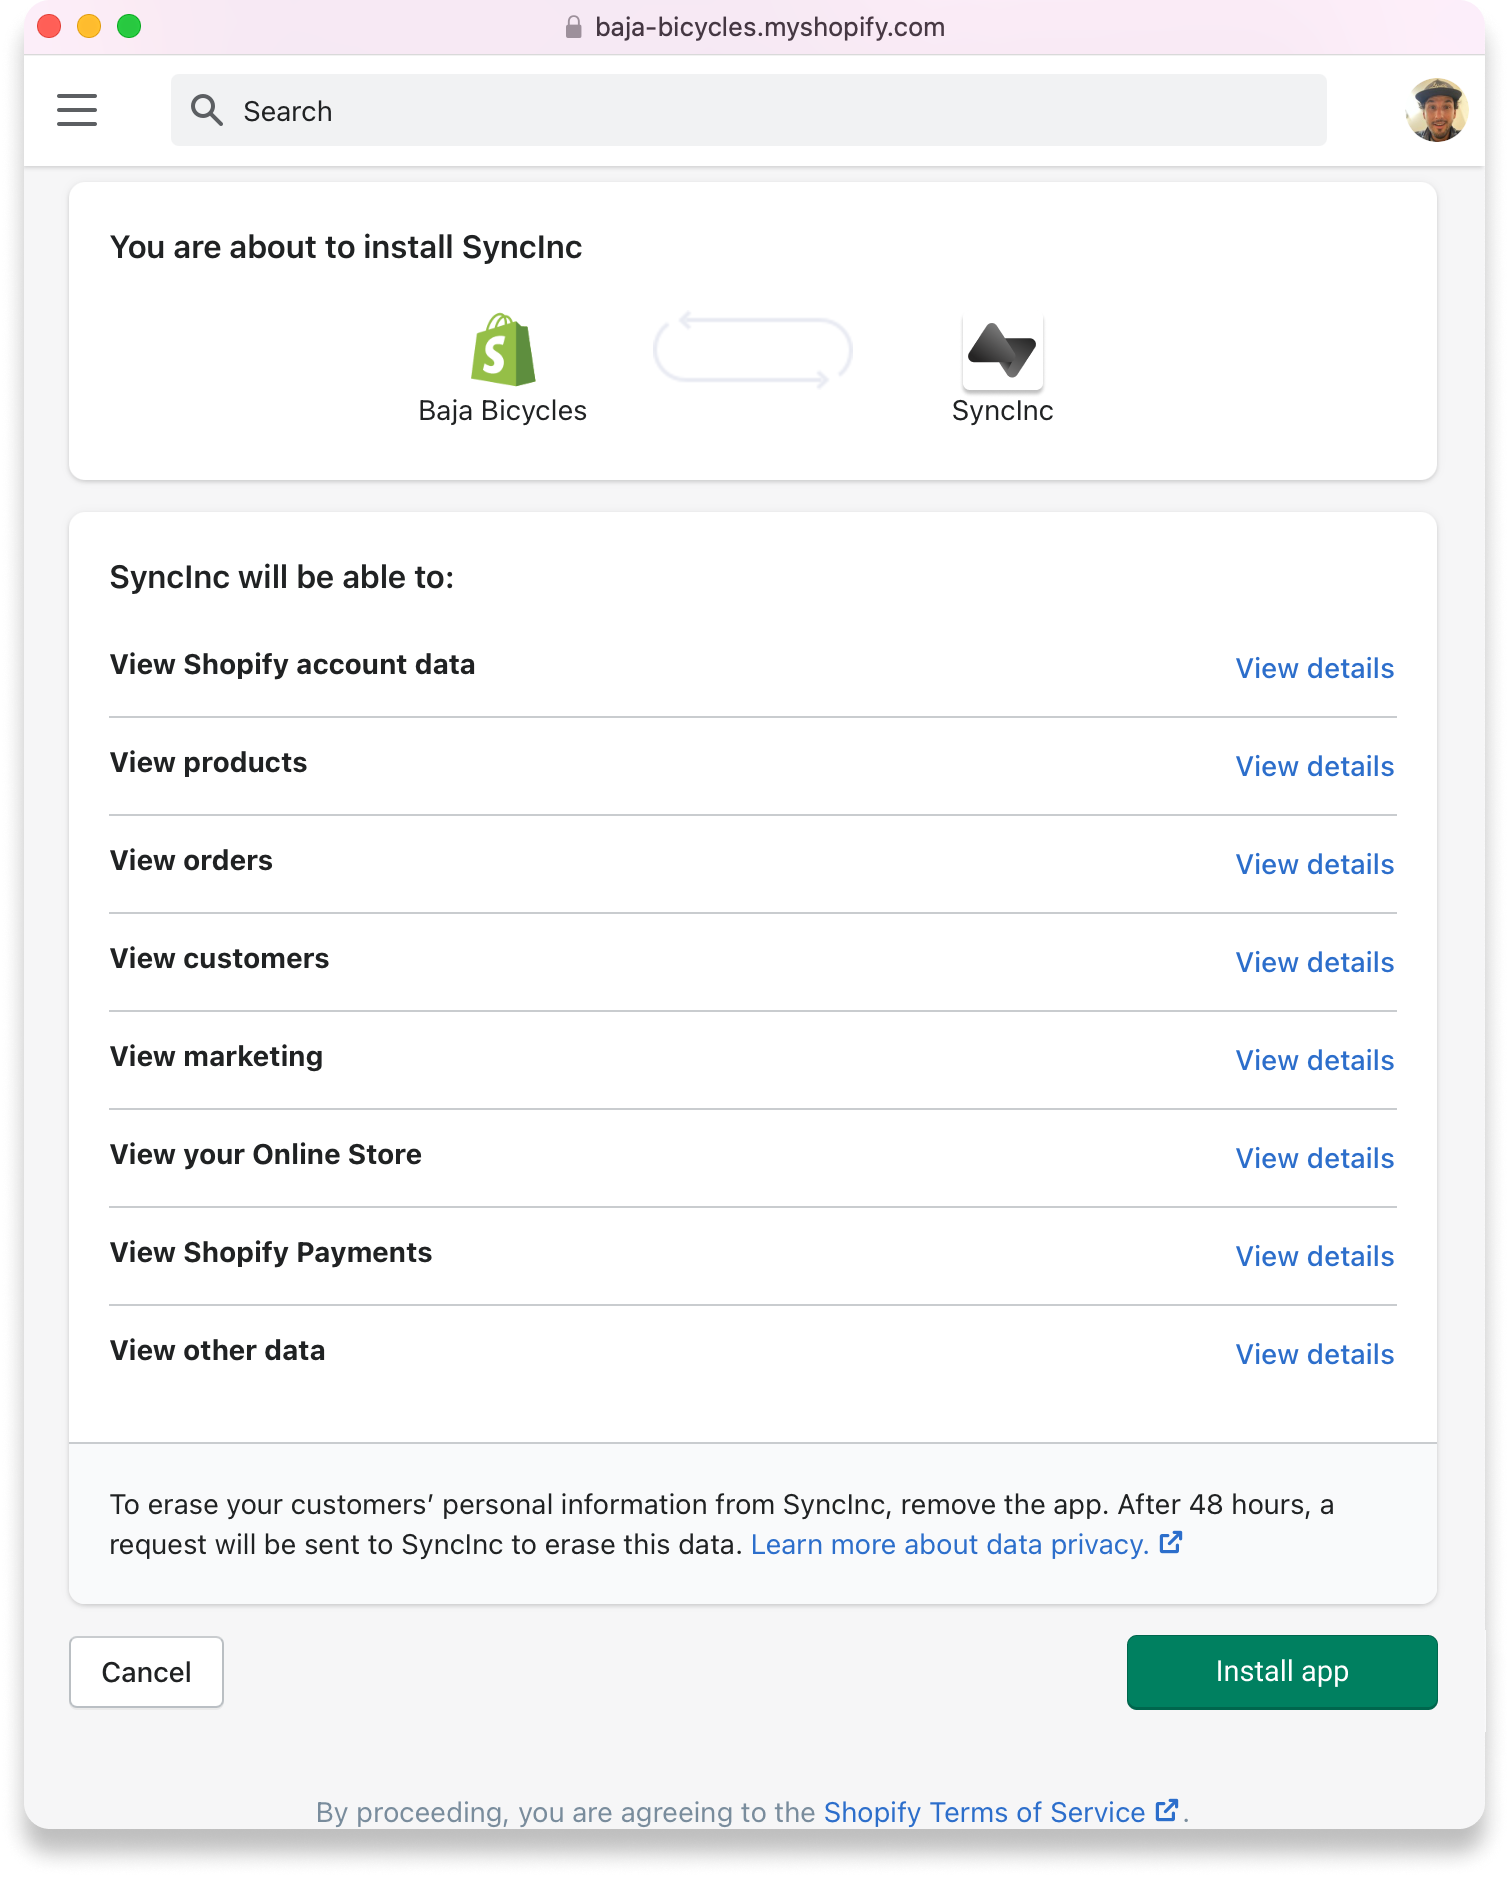
Step 4: Login to your Shopify account and then approve the Sequin Shopify app:

Approve the shopify app

Step 5: Select the tables you want to sync. By default, we’ll sync all the tables. You can adjust which tables you sync at anytime.

Step 6: Select the destination database you want to sync your data to. By default, we’ll sync to a new Postgres Database we host for you. Or, we can sync to a new schema in a database you’ve created with Sequin or that you host:

Create your Sequin database

Step 7: Click Create.

After you click Create, we’ll immediately connect to your Shopify store and begin back filling all your data.

Sync complete

Connect to your Postgres database

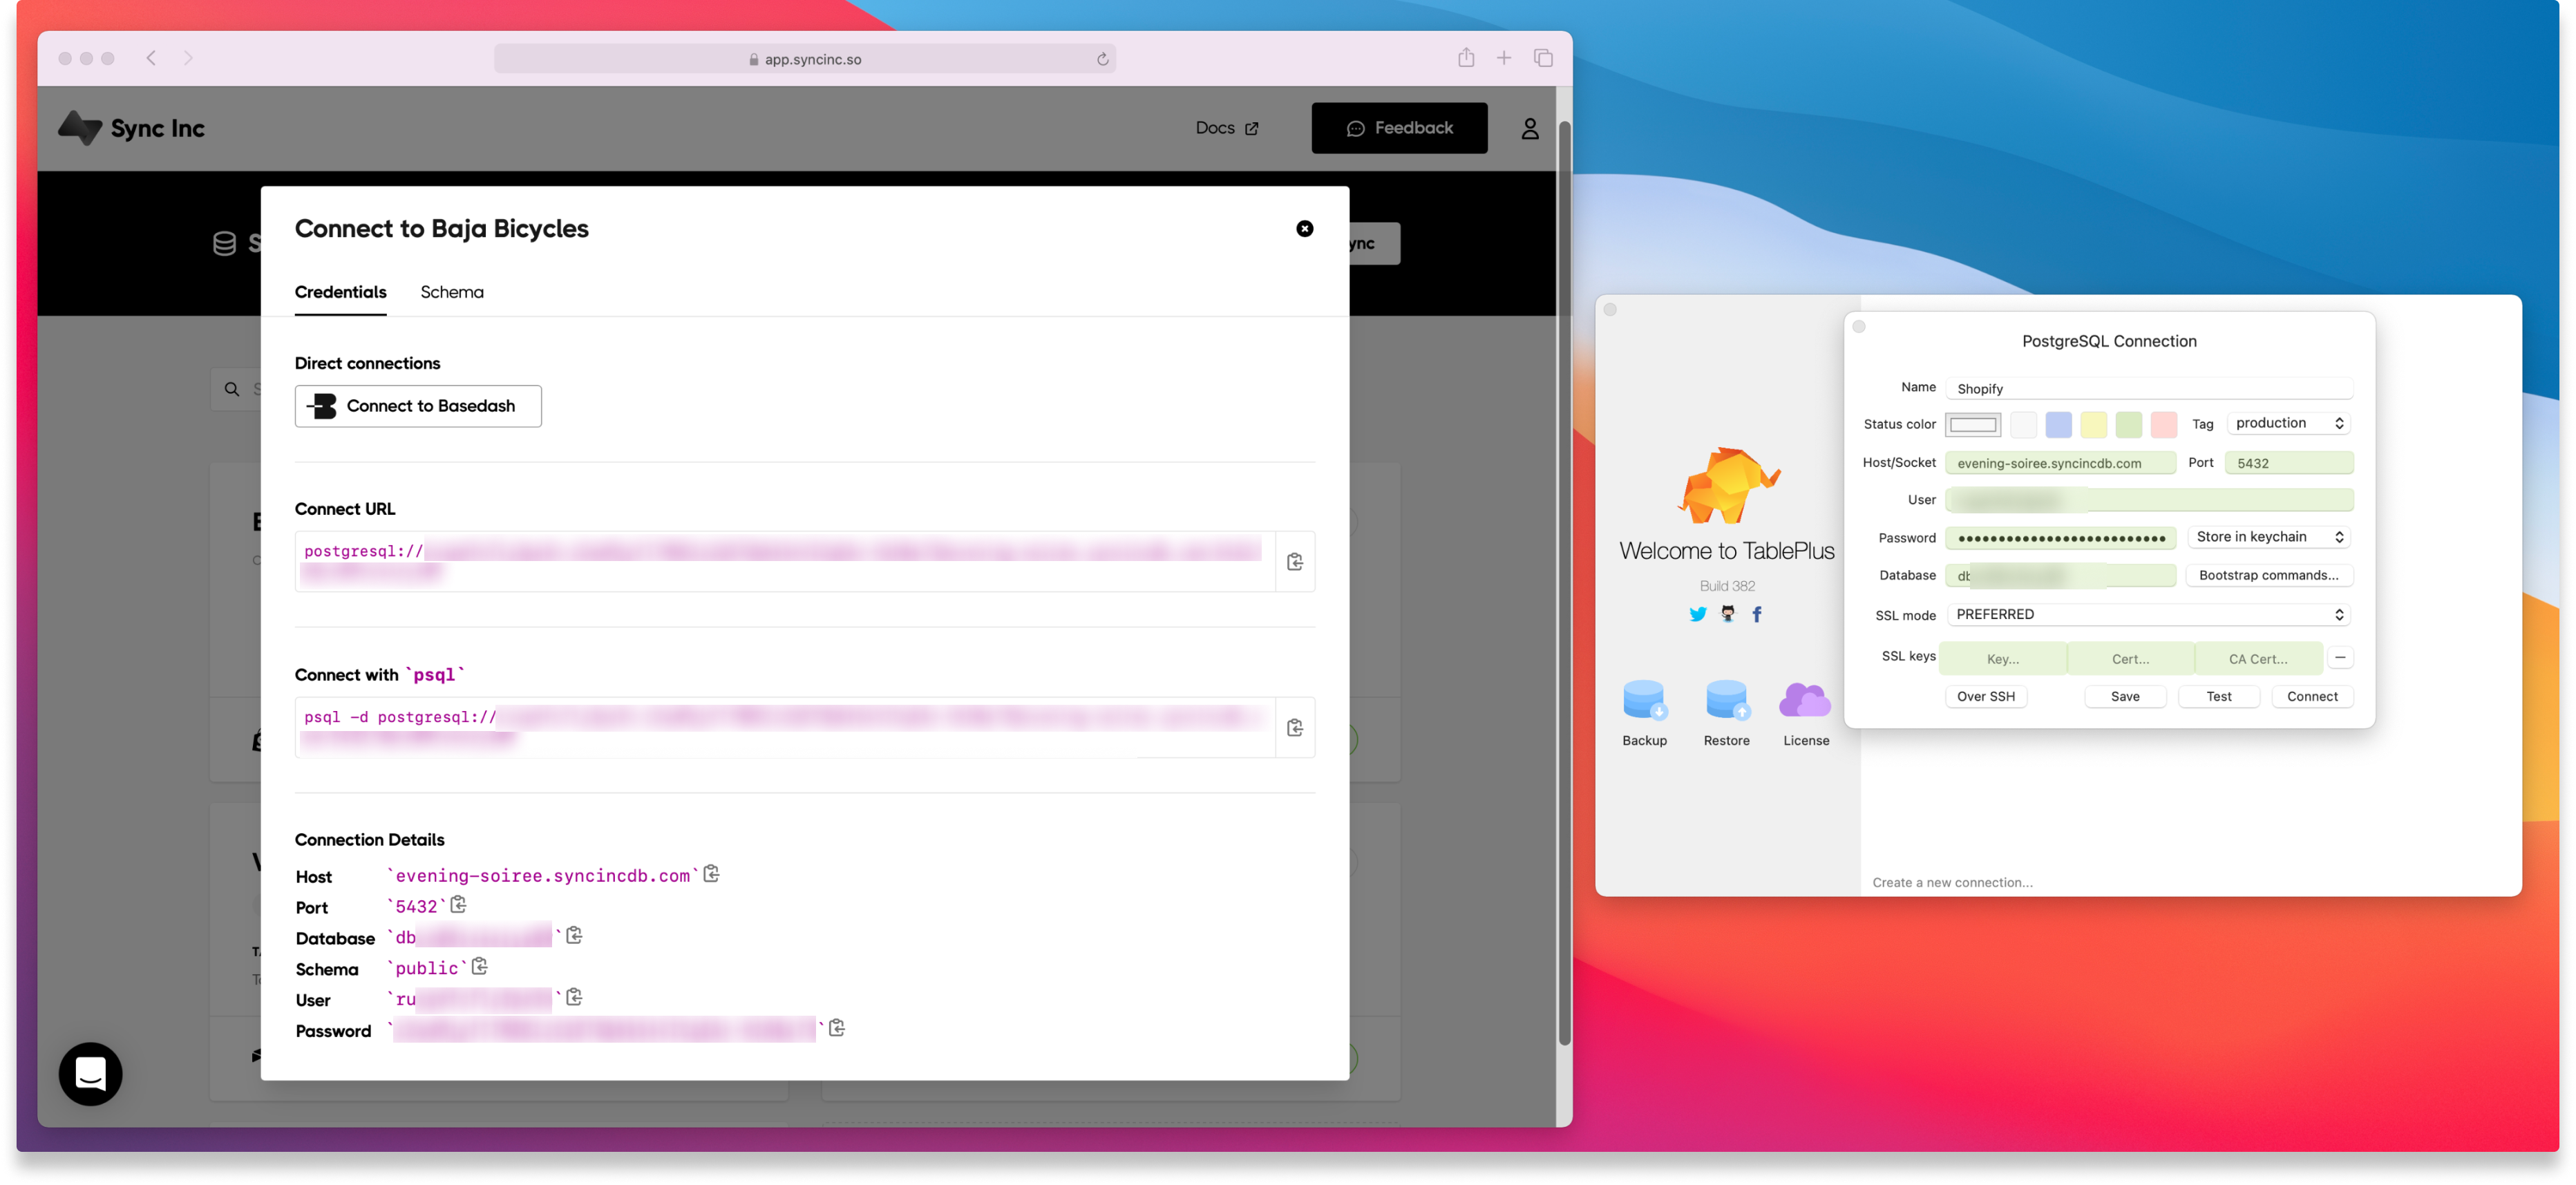
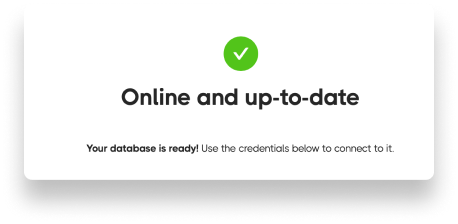
As soon as your database is provisioned, you can connect to it and start querying.

If you chose to sync your data to a Sequin provisioned database, then your database is hosted on AWS RDS. If you chose to sync to a database you are hosting, then you or a database admin will know the details of your hosting.

For this setup guide, we’ll use TablePlus as an example.

Step 1: Download and install TablePlus from https://tableplus.com/.

Step 2: Open TablePlus and click Create a new connection…

Step 3: Click the Import from URL button.

Step 4: Copy and paste the Connect URL from Sequin into the Connection URL in TablePlus then click Import.

Step 5: Then name your TablePlus connection and click Create.

Shopify to TablePlus

Query Shopify with SQL

You’ll now see all your Shopify data represented in Postgres. To start querying, click the SQL button and write your first statement:

select
    customer.id,
    count(order.id),
    sum(order.total_price)
from
    customer
left join public.order
    on order.customer_id = customer.id
group by customer.id;

Was this page helpful?